
Webex Workspaces#
Overview#
Webex App workspaces can be added in Webex Control Hub and from Automate. Workspaces can be updated in Automate and the changes are synced back to the Webex Control Hub.
Details synced in includes calling behavior and calendar settings, as well as phone numbers and device information associated with the workspace.
When a sync occurs, existing numbers in the number inventory are updated with workspace details, for example, in the corresponding Usage, Description, and Vendor fields.
You can add various types of Webex App workspaces in Automate, for example, meeting rooms or open spaces.
Related topics
Add a Webex workspace#
This procedure adds a Webex workspace, and optionally, adds phone or conference devices.
Note
You can add devices when adding a new workspace or when updating an existing workspace.
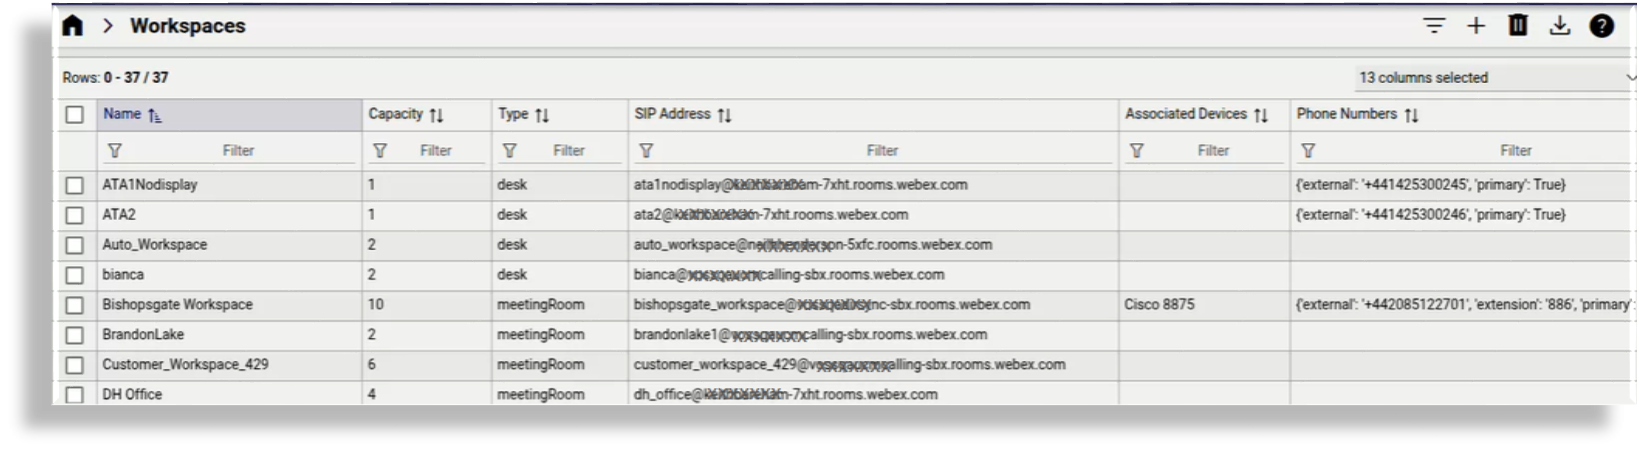
Log in to the Admin Portal as provider admin, then go to the Webex Workspaces list view.
Click the Plus icon (+) to add a new workspace, then choose the relevant site.
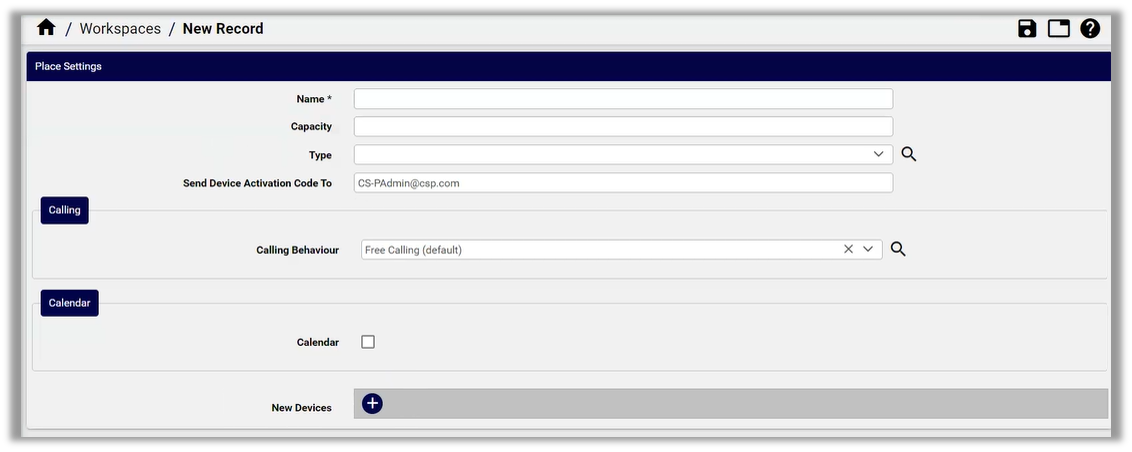
Fill out details for the new workspace:
Add a workspace name.
Once a workspace is added, you can update its name if required.
Define capacity (how many persons the workspace is suitable for).
Select the workspace type for example, desk, focus, huddle, meeting room, or open space.
At Supported Devices choose the device type, either Collaboration devices or MPP phones.
Note
If the supported device selected is Collaboration, you’ll be able to add one or more devices.

At Send Device Activation Code To, fill out the email address(es) where the device type code is sent.
Note
The device activation code is unique to the workspace and is entered into the device itself.
Once the code is created, the Device Activation Code (read only) value is returned and shown, as well as its Device Activation Code Expiration Date. An Automate system schedule checks the expiration date and generates a new code.
When a workspace activation code expires, a scheduled workflow refreshes codes for places without expiry dates or with expired/expiring codes, and continues processing remaining places if individual places fail.
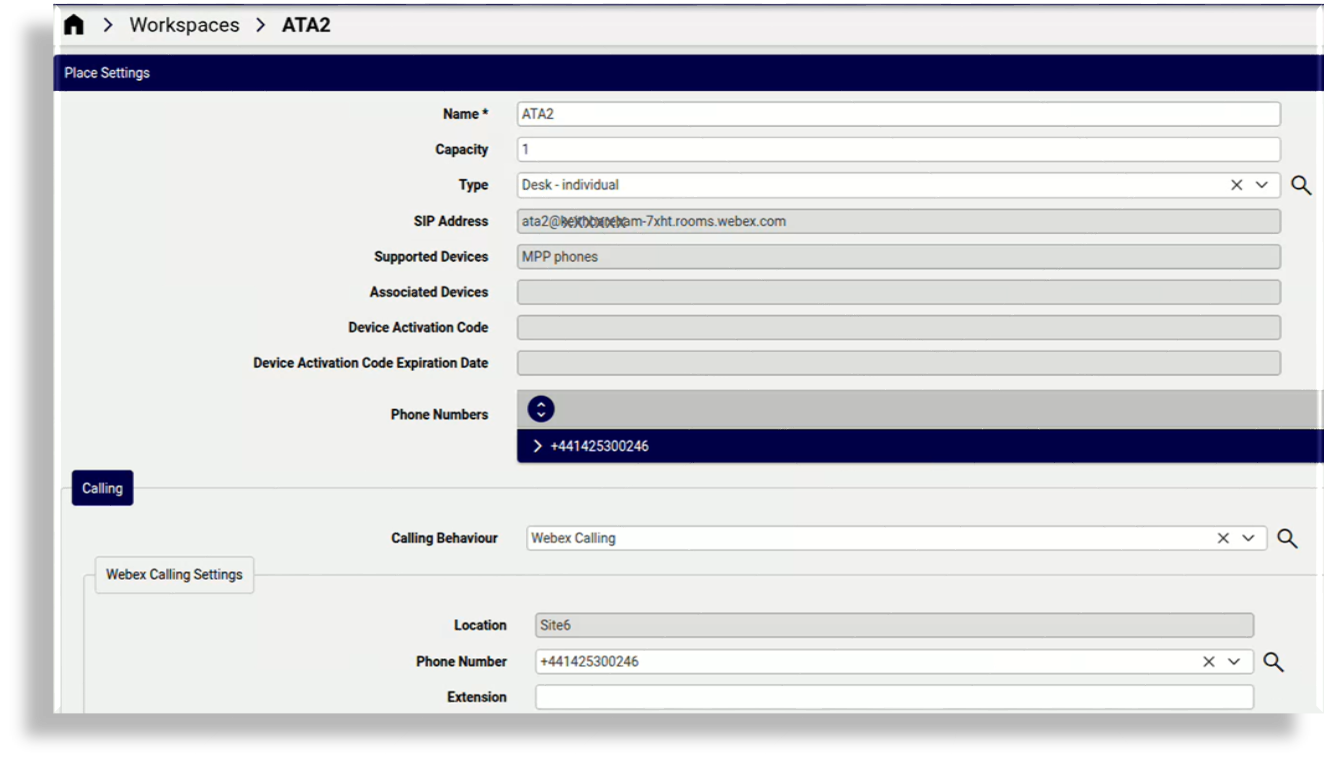
The SIP Address of the workspace is also shown.
At Calling Behavior, select the workspace calling behavior:
No calling
Free calling (default)
Webex Calling
Third-party SIP URI
Webex Edge For Devices
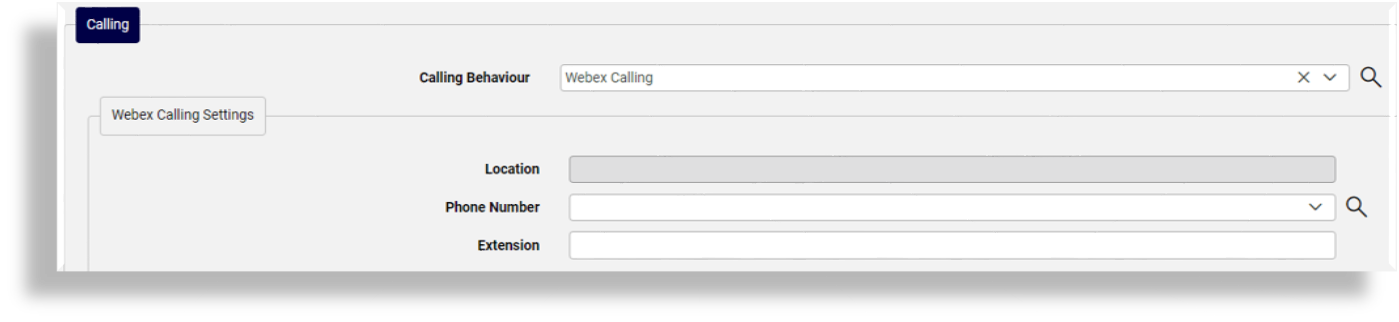
If you’ve chosen Webex Calling as the calling behavior, at Webex Calling Settings, fill out a phone number and extension.
Note
Webex Calling settings display on the page only when Webex Calling is selected.
At Calendar Type, optionally, select a calendar provider (these options are those available from the Scheduling section on the Webex Control Hub - for example, Microsoft Exchange / Office 365, or Google Calendar). If you choose a calendar type, you will need to fill out a workspace email address.
If the supported device type is Collaboration, at New Devices, add one or more new devices to the workspace. This allows for activating devices in a workspace using the RoomOS driver:
Note
Existing devices in the workspace are shown in the Devices group, while all devices display via the Devices menu.
For each new collaboration device:
Add the current IP Address for the Webex device.
Note
The configured IP address must be reachable by all of the Automate unified nodes via HTTPS using port 443.
Select the profile to use for configuring the device.
Note
The profile includes the required parameters for the configuration. Profiles are managed on the Webex App RoomOS Device Configuration Profiles page.
Add the device username and password, if needed.
Note
You can add a device with the default username,
admin, and no password. However, it is recommended that you add a second user on the device since, when the device registers with the Webex Control Hub, by default, Webex Control Hub disables the default username (admin) as part of the registration process, which prevents you from logging back in to the device using its IP address, unless you’ve added a second user. For example, without the second user, reset via the Admin Portal will not work because you will need to provide a username and password. If the default username is disabled, go to the Webex Control Hub, locate your device, and access the device via the UI.
Save your changes. Wait for the transaction to complete.
The new workspace and devices are registered with Webex Control Hub, which assigns an activation code. The activation code is used to make a second connection to the device local IP address to run the activation step with the configuration you specified in the configuration blocks.
In the Admin Portal, you can view the new workspace in the the Webex Workspaces list view. To view new devices, use the Action search to locate the Webex Devices page.