
Voicemail
Overview
VOSS Automate allows admin users to add, update, or delete Cisco Unity Connection (CUC) voicemail accounts (voicemail users), and their associated voicemail services, via (default menus) Subscriber Management > Voicemail.
Note
Optionally (depending on your deployment), VOSS Automate supports a Unity SIP integration feature that can be used in place of your existing voicemail service. See Introduction to Unity SIP Integration
Users and associated services added through VOSS Automate are also added to Cisco Unity Connection (CUC) voicemail system.
Related Topics
Unified Messaging Account
Unified Messaging (Single Inbox) is a Cisco Unity Connection (CUC) service that enables users to have a single inbox in their e-mail client that is used for their e-mail as well as their Voicemail.
Note
VOSS Automate only supports either the Exchange or Office 365 Unified Messaging Service, MeetingPlace is not supported.
Only one Unified Messaging Account (Single Inbox) per Subscriber can be added by VOSS Automate. However, if an existing Cisco Unity Connection subscriber is imported into VOSS Automate already has more than one account, then all associated services are imported, and will be available in VOSS Automate.
Administrators must manually sync VOSS Automate with Cisco Unity Connection to obtain the required Unified Messaging Services. A manual sync must also be done whenever changes are made to the Cisco Unity Connection server.
VOSS Automate does not automatically integrate Cisco Unity Connection Servers with Microsoft Exchange, the details for that process can be found here: https://www.cisco.com/c/en/us/td/docs/voice_ip_comm/connection/11x/unified_messaging/b_11xcucumgx.html
The following CUC settings, set to ‘True’ (On), are included in Unified Messaging:
EmailAddressUseCorp - Use Corporate Email Address
EnableMailboxSynchCapability - Synchronize Connection and Exchange Mailboxes (Single Inbox)
The following two models were added to the Model Type List CUCXN Overbuild Resources for Unified Messaging:
device/cuc/ExternalService
device/cuc/ExternalServiceAccount (the actual Cisco Unity Connection User’s model which contains their Unified Messaging Account)
VOSS Automate also added a new Model Type list CUCXN Unified Messaging Services, and added the same two Models: device/cuc/ExternalService and device/cuc/ExternalServiceAccount
Add, Edit, or Delete a Voicemail Account
Prerequisites:
The admin adding the voicemail account must be at the relevant Provider, Customer, or Site level.
A CUC Server (VM Server) must already be provisioned at the Provider or Customer level.
A Network Device List (NDL) and NDLR points must exist.
Perform these steps:
In the VOSS Admin Portal, go to (default menus) Subscriber Management > Voicemail.
From the summary list view, choose an option:
Edit an existing voicemail account
To edit an existing voicemail account, click on an account in the list, make your changes, and save.
Note
Edits may involve updating options configured when adding the account, or to add new voicemail services, for example, to add additional alternate extensions and/or notification devices.
Delete an existing voicemail account
To delete an existing voicemail account, select the relevant account in the list, or click on it to open its configuration screens, then click the Delete button.
Note
When deleting a voicemail account:
All elements associated with the voicemail account are deleted.
Modular Delete workflows can be carried out as a part of a Modify workflow.
When deleting a voicemail account at the Site level, the related CUCM Line’s Park Monitoring and CFWD settings are disabled accordingly.
When deleting a voicemail account at the Customer level (that is, recently synced from CUC but not yet moved to Site level), the related CUCM Line’s Park Monitoring and CFWD settings are not disabled.
Add a new voicemail account
To add a new voicemail account, click the Plus (+) icon, then choose a site from the hierarchy picker. Go to the next step to configure the new voicemail account.
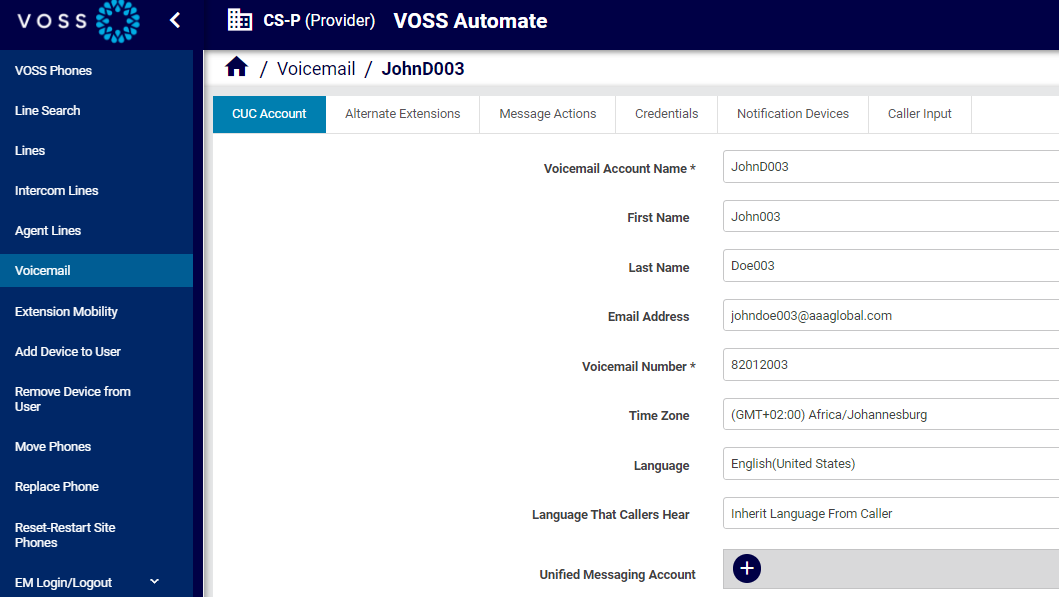
On the CUC Account tab, configure CUC account details, such as voicemail account name (the subscriber), voicemail number, and the language the caller hears. For details, see Unified Messaging Account
Note
The Voicemail Number drop-down only shows numbers associated to the selected subscriber (chosen for voicemail account name).
Email address is auto-populated when selecting an existing subscriber.
Click the Plus icon (+) at Unified Messaging Account to add a unified messaging service. See Unified Messaging Account. Once saved, the summary header is the user’s email address. It is only possible to add one CUC messaging account per subscriber in VOSS Automate.
On the Alternate Extensions tab, add alternate extensions available to the CUC voicemail user, if applicable.
Click the Plus icon (+) at Alternate Extensions.
Enter the number, choose a phone type and partition name, and specify a name for the alternate extension.
Note
Once you’ve saved these changes you can log in to Cisco Unity Connection, choose the user you updated, and go to Edit > Alternate Extensions to view the alternate extension configured in VOSS Automate.
From Alternate Extension choose the Partition from the drop-down and click Save.
On the Message Actions tab, define how incoming voicemail, email, fax, and receipt messages are handled. If the selected message action involves relaying the message, enter a valid email address in the Relay Address field.
Note
You can accept the default message actions and update them later.
On the Credentials tab, configure a password and PIN.
Note
The admin user configuring the account can lock these credentials or require the user to change the credentials on first login. The CUC user password template and CUC user PIN template in the user’s Quick Add Group (QAG) are applied. See Quick Add Subscriber Groups Default Model.
On the Notification Devices tab, add devices used to notify this CUC user of voicemails sent to them.
Note
While the system automatically provisions default notification devices, you can add additional devices when adding a voicemail account.
SMS notification is only available if an SMPP Provider has been added on the relevant Voicemail server.
On the Caller Input tab, click on the required key (*, #, or 0 to 9), then select an action from the drop-down to associate caller input keys to specific actions (to configure default caller input keys). See Caller Input Tab.
Note
The Caller Input tab displays only once the CUC account (including voicemail account name) has been created and saved.
Additional fields are exposed when choosing certain options. For example, when you choose the User with Mailbox call action, the User with Mailbox and Transfer / Greeting fields are exposed.
Save your changes to add or update this voicemail account.
Note
Once you’ve added a voicemail service to a subscriber, the lines lines used by any devices associated with the subscriber are updated to reflect the proper call forward and voicemail profile settings to enable the following buttons: Call Forwarding to Voicemail and Voicemail.