Working with Lists#
Overview#
Summary views of resources and services are shown in lists in the VOSS Automate Admin Portal. For example, you can view a list of components in your system hierarchies, or to view a list of customers, sites, users, subscribers, servers, or device types.
The lists include functionality that allows you to sort, order, and filter items, and to navigate across multiple pages.
Refresh Lists#
List views refresh by default, when:
A transaction (related to items you’re viewing on the list) completes.
Clicking again on the menu option for the list. For example, when looking at a list of phones (default menus: Cisco Subscriber Management > Phones), clicking the Phones menu in the left navigation refreshes the list.
Note
If you have a filter applied to the list, refreshing the list displays the new item if it matches any applied filters. In the scenario described above, if you have a filter applied to only show phones containing the characters 123, the refreshed list view will show any new phones containing these characters.
Reorder Columns#
VOSS Automate allows you to select and drag a column to a new position in the list view, to rearrange the order of the columns. The updated column order is retained for you in your browser’s local storage, until that storage is cleared.
Sort and Order Lists#
Columns in the list views may contain string values or numeric values. The default sort order is on the first column, either alphabetically (descending) for string value columns, or numerically (descending) for numeric value columns.
To sort the list based on values in a column, click on any column header. Click again to change the direction of the sort order. An up/down arrow in the column header indicates the sort order.
When sorting:
Cells with no value move to the top or bottom of the list, depending on the sort order (ascending or descending).
Upper case letters letters sort before lower case letters.
Any column can be sorted, provided no filter is applied.
Applying a filter to two or more columns disables sort.
Leading spaces in field values are dropped from the list view. This may affect the sort order.
Values in the Located At column are sorted according to the string value, and not the hierarchy path.
Navigate Lists#
Lists with many items may display across two or more pages.
To navigate across a multiple page list, click the right/left arrow to scroll to the next/previous page, or click a page number.
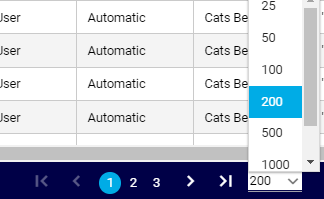
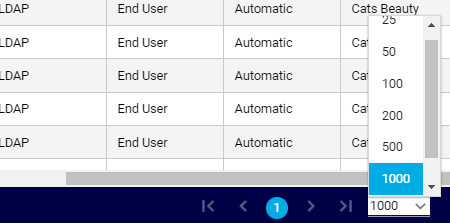
To view more items per page, specify the number of items to display on each page, from 25 to 2000. This includes lists of transactions, logs and sub-transactions.
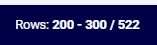
The header row displays the number of the rows you’re viewing out of the total.
Note
Search results that display as lists return a maximum of 1,000 items. A system message at the bottom of the list indicates this limitation. Change the search criteria for result lists exceeding 1000 items.
Filter Lists#
The list filter functionality you’ll see in VOSS Automate depends on whether you’re using the classic Admin GUI or the Admin Portal (introduced at v21.2).
Note
This topic describes filtering on resource and service summary lists. For details around filtering transactions, sub-transactions, and log lists, see Filtering Transactions.
A filter remains active until you remove it or until your user session ends (even if you navigate away from the page). If you’re not seeing all data on a list, clear the filter by clicking the X icon adjacent to the Filter button, or open the dialog and remove filters.
Note
In the Admin Portal, when opening a list via a menu, and you create and apply a filter to this list, the filter is not retained for this list when you open the same list from a landing page. The filter is retained for the list only when opening the list from a menu (any menu where that list is available).
The same applies for lists that you launch from a landing page, when you create and apply a filter to the list you opened from the landing page. In this case, the filter is only retained on the list when you open that list from a landing page (any landing page where that list is available)
Filtering Lists in the Classic Admin GUI#
The legacy Admin GUI provides a filter dialog for specifying one or more search criteria to apply to the list.
To filter lists in the legacy Admin GUI:
Log into the VOSS Automate Admin GUI.
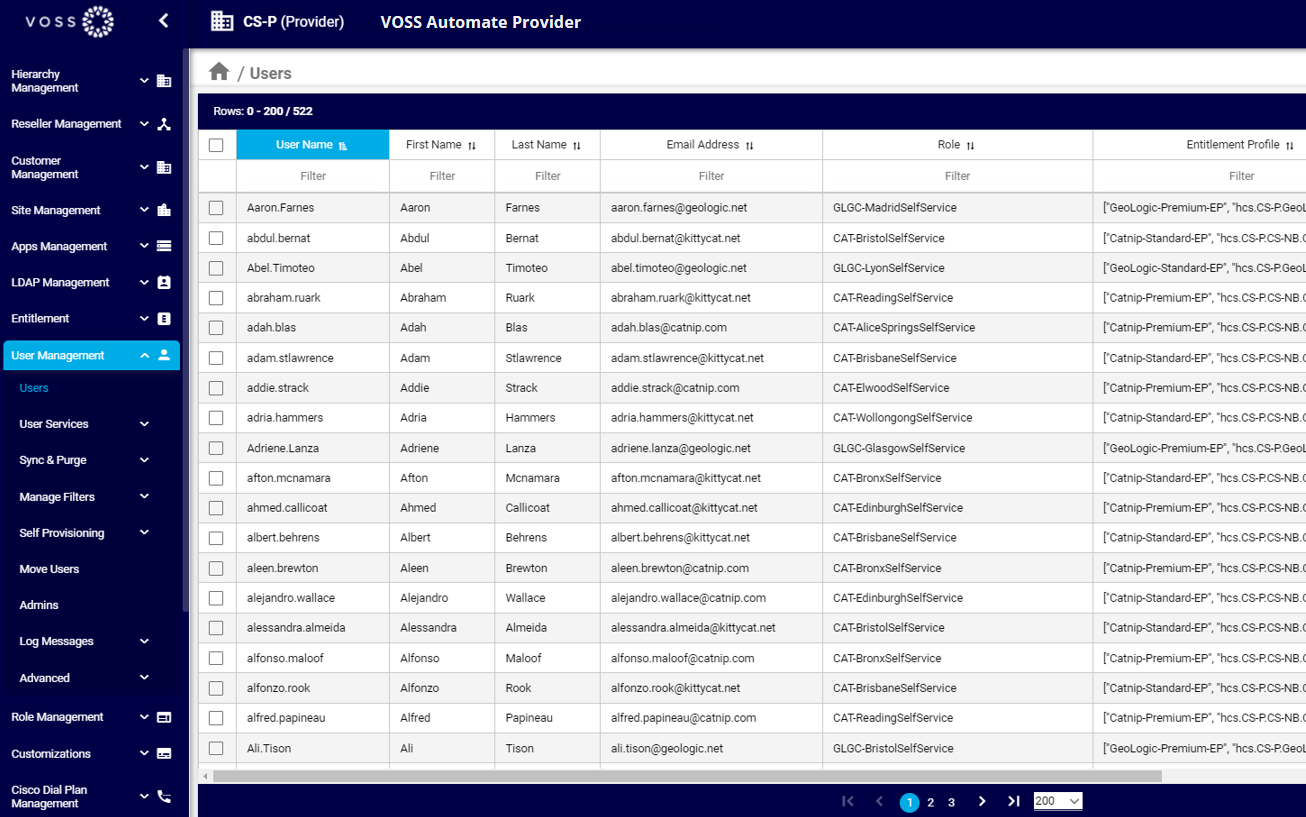
Open a list view for a resource or service. For example, (default menus) User Management > Users.
Open the Filter dialog. Two options are available:
Click the Filter button located at the bottom of the list (adjacent to the Items/Page drop-down).

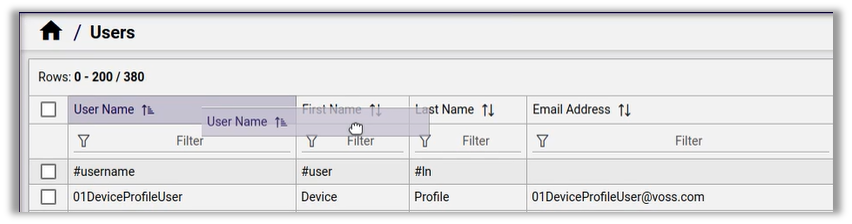
Mouseover any column header to display the Filter icon, then click on the icon to open the Filter dialog. In this case, the first filter defaults to the column name, but you can specify any filter you choose (one or more), and the filter applies to all data in the list.
To specify filter criteria, choose a column, a filter operator, and a value.

Available filter operators:
Contains (default)
Does Not Contain
Starts With
Ends With
Equals
Not Equal
Clear the Ignore Case checkbox to create a case-insensitive search. This checkbox is selected by default.
Important
To filter for empty rows in a specific column, choose Equals for filter type, select Ignore Case, and type
Nonein the Value field of the Filter dialog. This works for all list views except Subscriber.Specify additional filters, if required. To remove any of the filters, click Remove.
Note
The combination of filters you set up creates a single filter; that is, all filter rows are applied (in a logical AND) when you run the filter.
Click Apply to run the filter.
View the filtered list.
Note
While a filter is applied, clicking on a column header to sort data is only supported for the Starts With operator.
The Located At column only filters on the name of the hierarchy (for example, the site name), and not on the hierarchy type itself (for example, site, or customer).
You can perform additional actions on a filtered list, for example, to select a number of items in a filtered list to move or delete the items.
Filter Operators and Column Value Types
You can use all filter operators on string value columns.
You can use all filter operators on Boolean value columns, provided values are “True”, “true”, “False” or “false”.
For number value columns, you can also use Equals and Not Equal filter operators.
When filtering on decimals in number value columns:
To filter floating point values in number value columns, specify at least one decimal digit, for example,
2.0.Filtering can be applied to values with decimal values up to 7 decimals. For example:
Consider a list of values, and the following filter: Not Equal to
2.000000012.2000001 2.0000001 2.00000001
In this case, the filter displays only one value (
2.2000001), because the filter value exceeds 7 decimals.
Filters and Model Lists
If access is available to specific models, such as configuration templates and macros, filters apply to all the instances in the hierarchy, since the listing of instances in these models is not restricted to a user’s hierarchy.
Standard list view filters on model types are removed and replaced by any configurable filters on landing page links or menu items for the corresponding model type when these are used. See Fixed and Configurable Filters in Menus and Landing Pages.
Filtering lists in the Admin Portal#
The Admin Portal provides two options to filter a list view:
Advanced filter
Quick filter
To filter lists in the Admin Portal:
Log into the Admin Portal.
Open a list view for a resource or service. For example, (default menus) User Management > Users.
Add or modify filter criteria. The table describes the options:
Note
Column sort options may be disabled by the filters you add.
Filter option |
Description |
|---|---|
Advanced filter |
|
Quick filter |
|
Filter Examples
Specify advanced filter criteria in the Filter dialog.
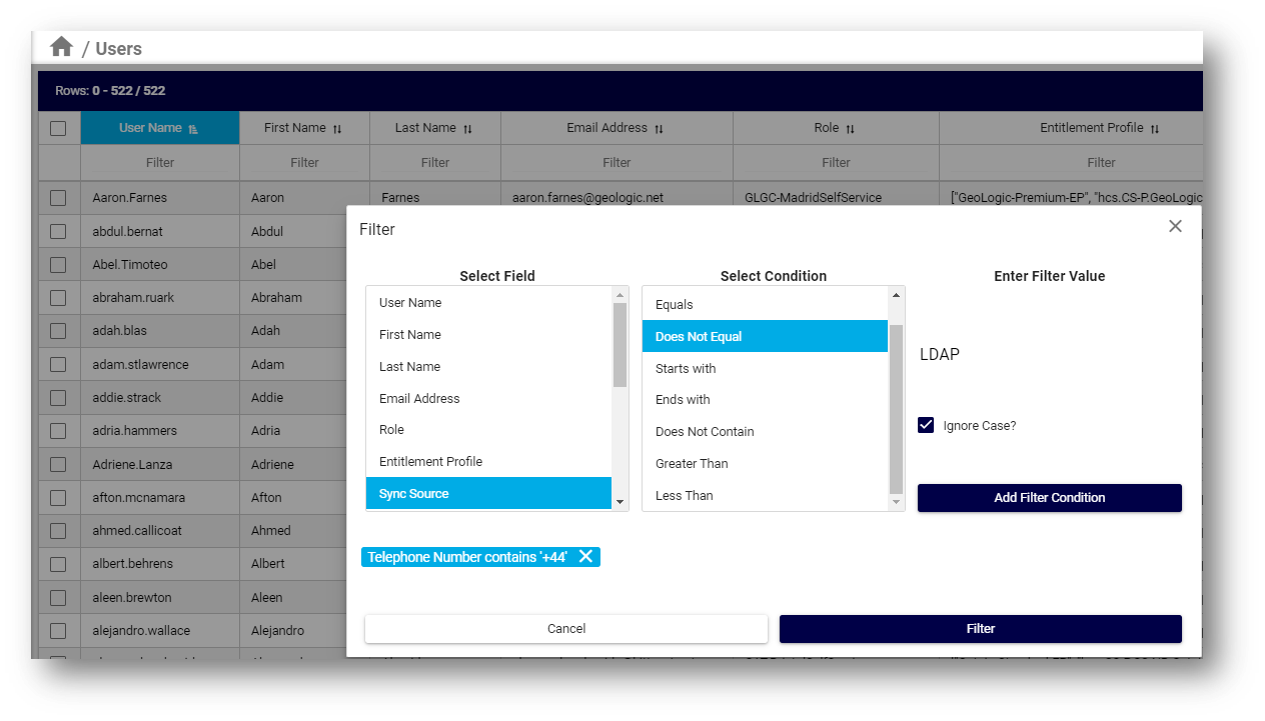
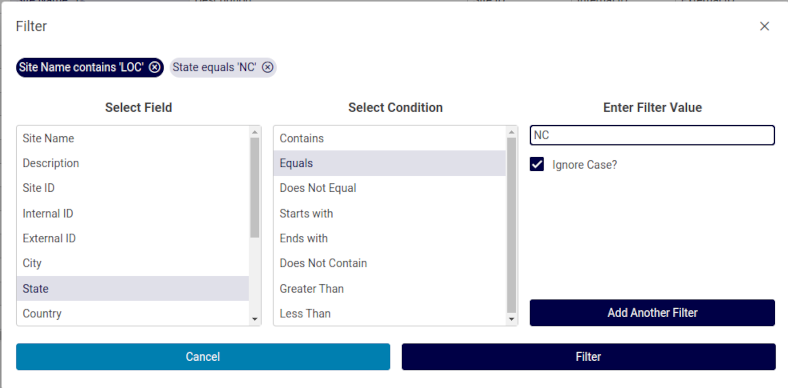
Advanced and quick filter criteria you add displays at the top of the page, and to the top of the relevant column/s.

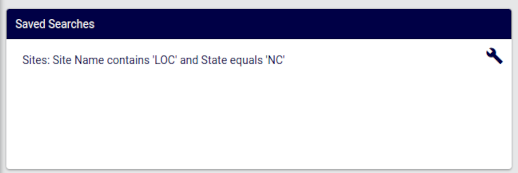
Advanced and quick filter saved searches display on the default Landing page (your Home page).