
Offboard user (Webex or Microsoft)#
Offboard a Microsoft or Webex user#
This procedure offboards a user provisioned with the Microsoft Teams or Webex service and moves the user from the site to the customer level.
Note
The form displays read-only fields to indicate the user’s provisioned services, Microsoft or Webex. The Hybrid Status Message field displays the user’s hybrid status (for a user with Cisco-Microsoft services). See Hybrid Cisco-Microsoft management.
Custom strings may also exist on the form.
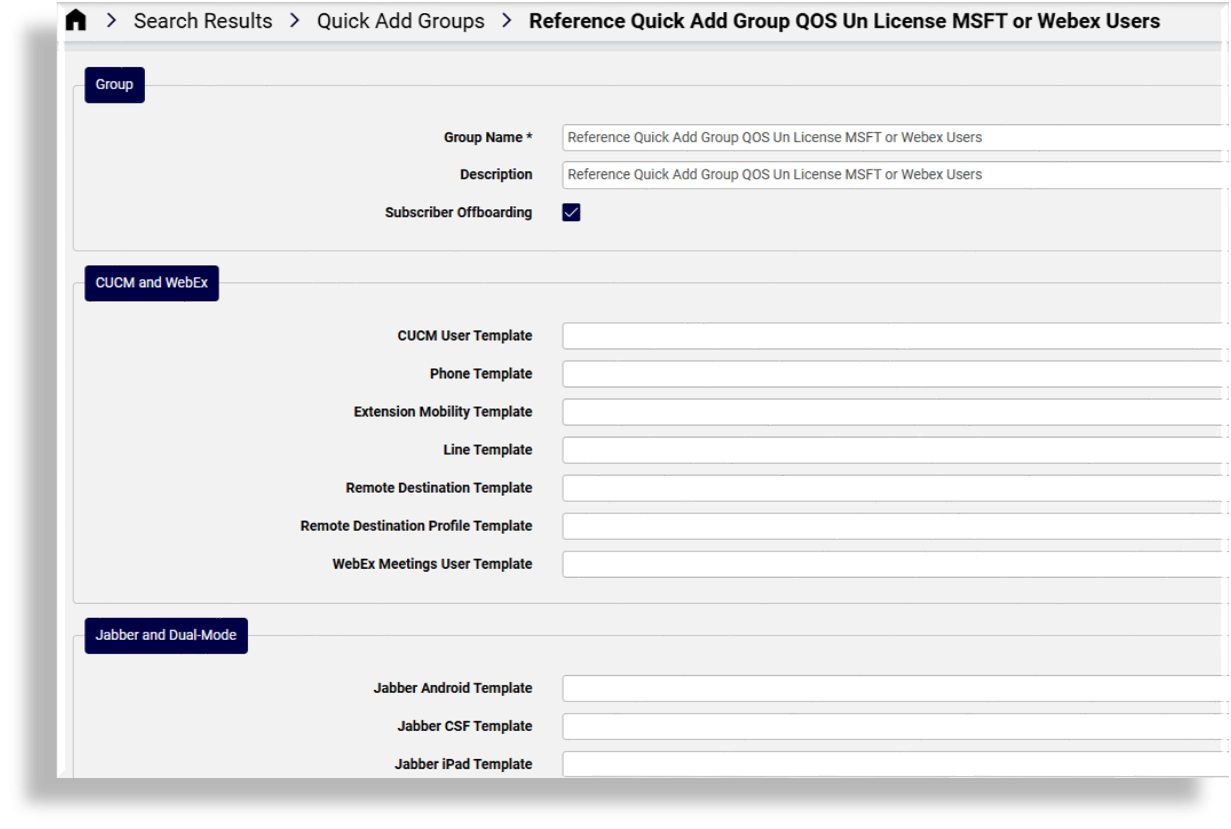
These are configured via the field display policy for the model, view/SubscriberQos.
In the Admin Portal, go to Webex User Services or Microsoft User Services.
Click Offboard User.
Select the username.
Optionally, at Offboarding Quick Add Group, select a Quick Add Group, or leave the field blank to apply the system default behavior.
Note
Quick add groups in the drop-down are enabled for user offboarding.
If you don’t see the Offboarding Quick Add Group drop-down on this form, it’s hidden via the field display policy (FDP), which means that the system default behavior applies when offboarding users. The system default for offboarding is to remove the user’s licenses and services.
If you wish to customize how and whether licenses, and/or lines, and/or or services are removed when offboarding, you can set up this behavior in a custom configuration template (CFT), and associate it to a Quick Add Group used for offboarding to define how users are to be offboarded and de-provisioned.
Optionally, if the user has the read-only Webex Teams Provisioned checkbox enabled (indicating the user has Webex services), you can choose to select Remove Webex User if permitted to remove the user during offboarding.
Click Save.
The user is moved to the sync source hierarchy, (typically, customer). For a Webex user, this includes moving the Contact Center and or Wholesale user (if these exist). If you’ve chosen to remove the Webex user, the user is removed from the system.
Verify that the user is de-provisioned and offboarded as defined via the configuration template in the Quick Add Group you chose, either a customized offboarding Quick Add Group, or the system default behavior.
The system default behavior for user offboarding removes the user’s licenses and services:
Important
The offboard user transaction for a Microsoft user requires a sync with the Microsoft Cloud and relies on waiting for incoming new data from Microsoft. For this reason, you may expect some delay (between 30 and 60 seconds), before the user’s new status (unlicensed and/or services removed) displays in Automate. For example, the user may still appear as licensed in Automate, and values such as PhoneSystem may still display as an assigned service in the Automate cache, even though the user is unlicensed and services are removed.
Related topics
Expose custom string fields on Offboard User#
This procedure exposes custom string fields on the Offboard User page (view/SubscriberQos), providing flexibility for adding additional details for a user, if required to set specific values that for can example trigger workflows during off-boarding.
Note
The Offboard User page allows for the exposure of up to ten custom string fields and up to 10 custom boolean fields to the field display policy (FDP) you apply to the Offboard User page (view/SubscriberQos). Values are:
Custom String 1 (
customString1) to Custom String 10 (customString10)Custom Boolean 1 (
customBoolean1) to Custom Boolean 10 (customBoolean10)
Log in to the Admin Portal as Provider admin or higher.
Create or update the Customers data model field display policy:
Go to Field Display Policies, and locate the entry for target model type view/SubscriberQos.
Click on the default field display policy (FDP) for the model (the FDP named default).
Clone (copy) the default FDP for the model, and give the clone a new name.
Note
You can’t modify default FDPs that ship with the system. This allows you to refer to or revert to a system default at any time, if required.
Modify the new FDP (the clone).
Note
You can add a new group of fields containing only the new custom fields, or add fields to existing field groups.
Save your changes.
Update the dashboard (Introduction to Automate dashboards) or menu layout (Menu layouts) to apply the FDP, and save your changes.
Log out, then log in again as Provider admin.
Role-based access profile changes refresh so that you can view the updated menu layouts and FDPs you applied, including new custom fields.