Add Customer Assets
Log in to the Arbitrator as admin.
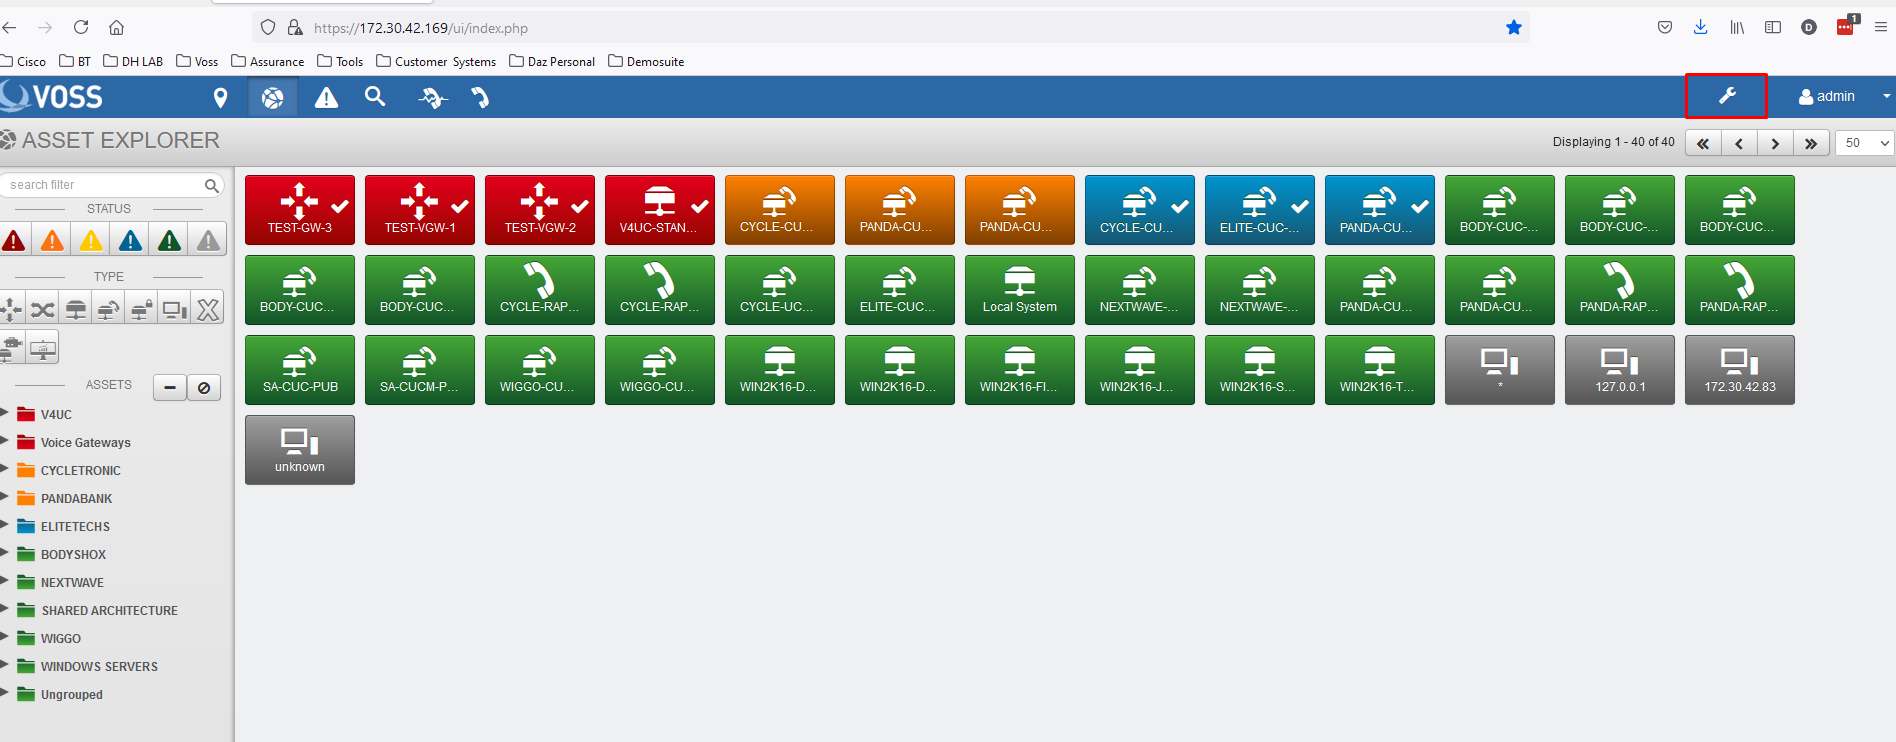
Click on the wrench icon (Highlighted in the red box)
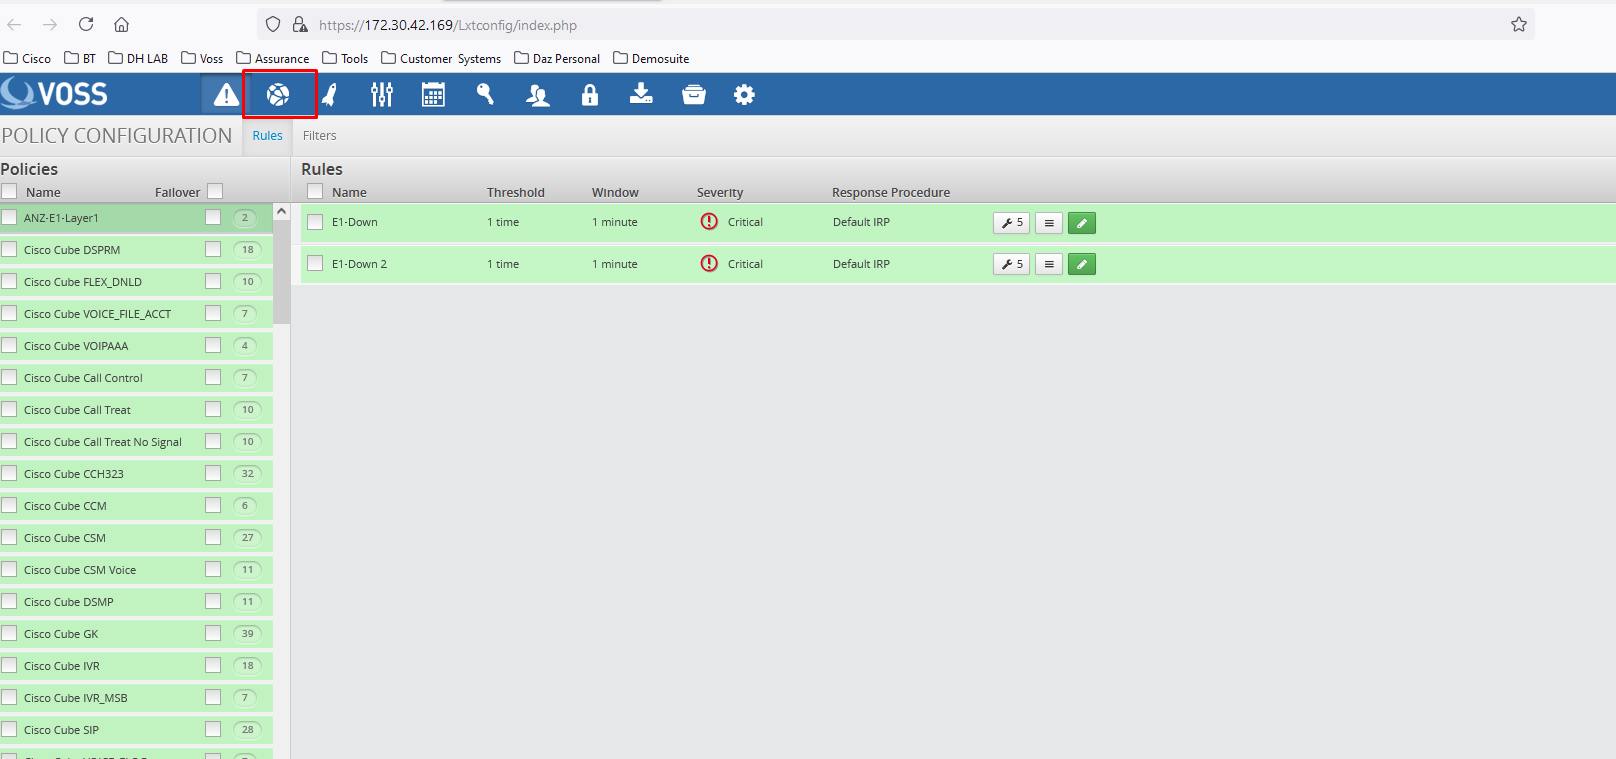
Click on the Globe icon (as highlighted in the red box), this will then open the Asset Configuration screen.
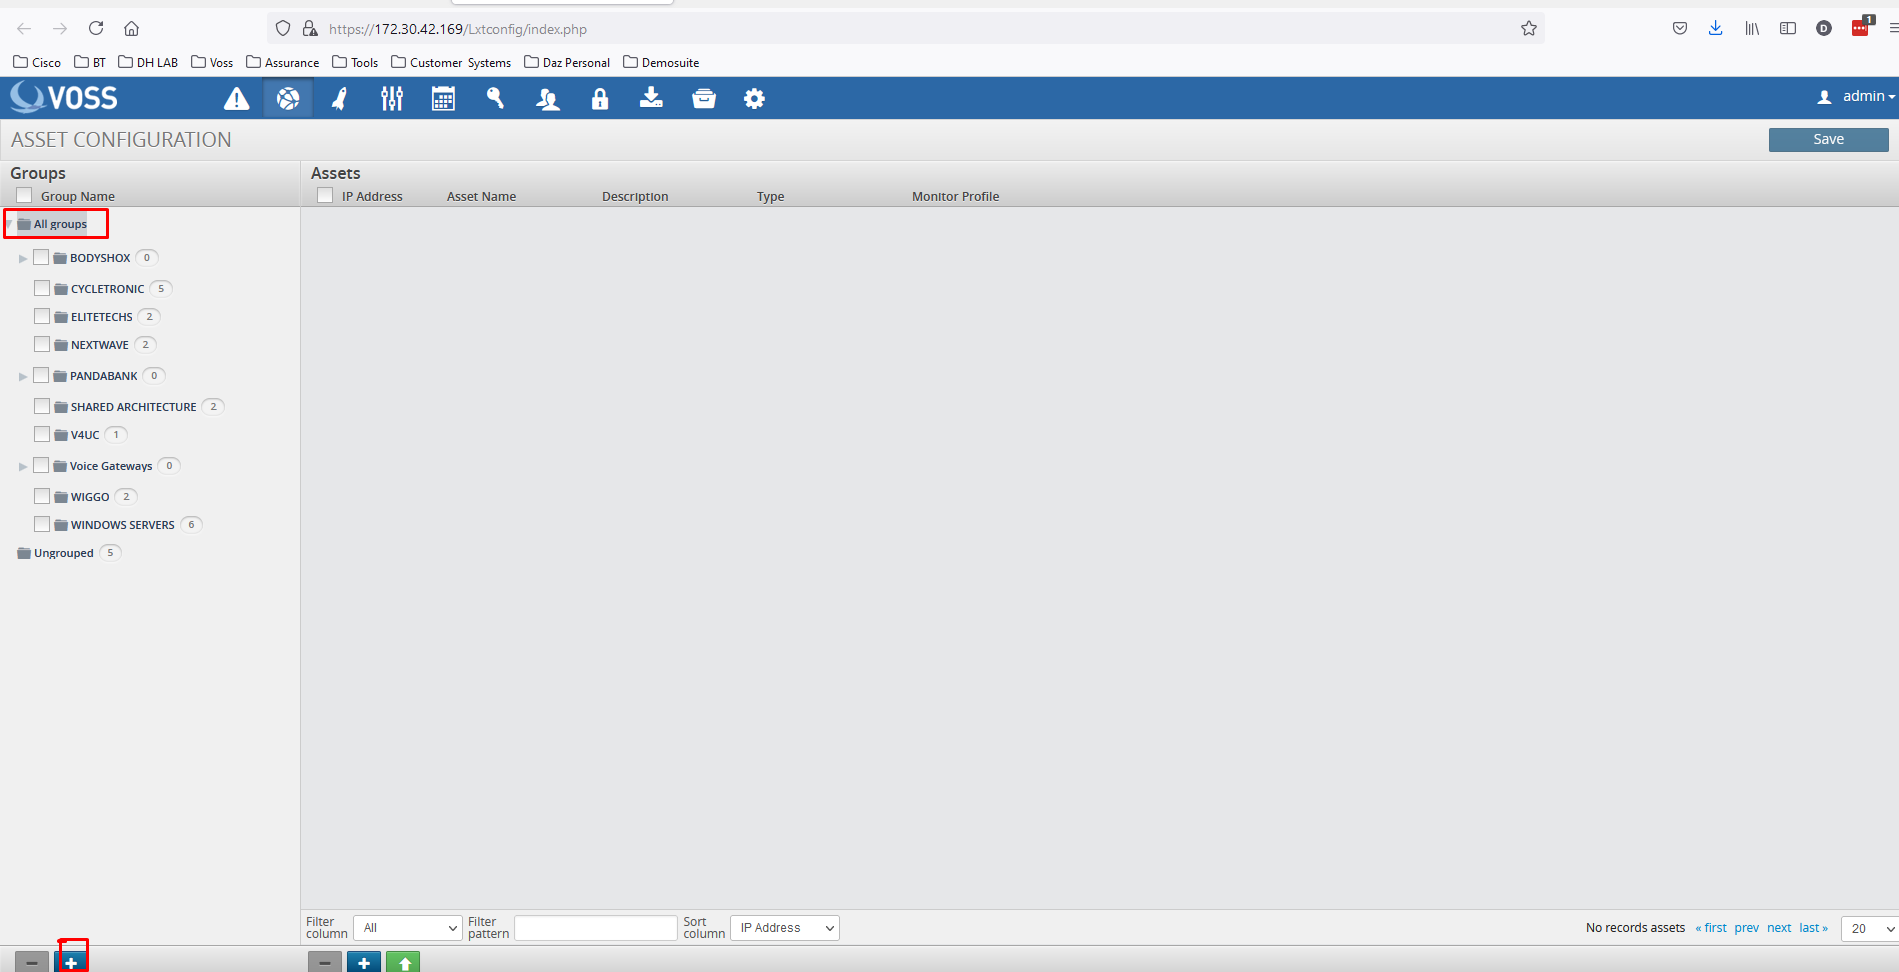
With All groups selected, click the + icon
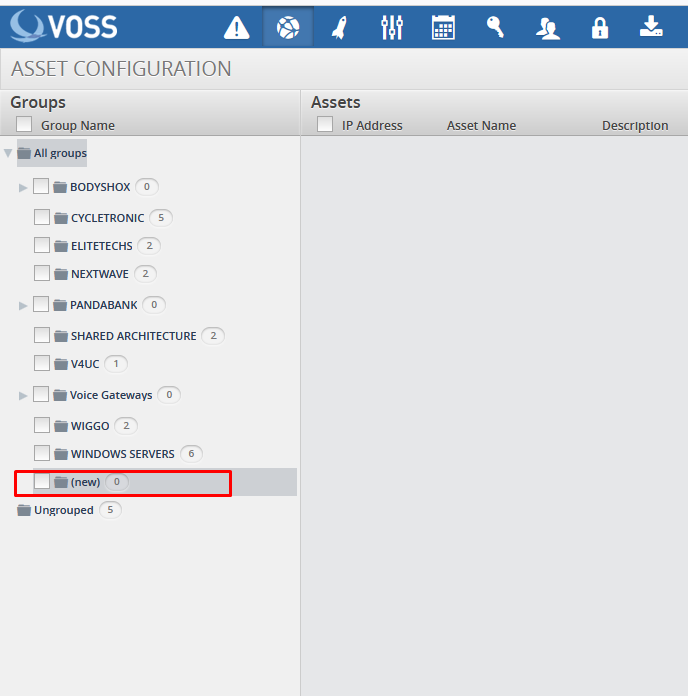
This will create a new folder as shown above.
To rename this folder double click on it, rename and press <Enter>.

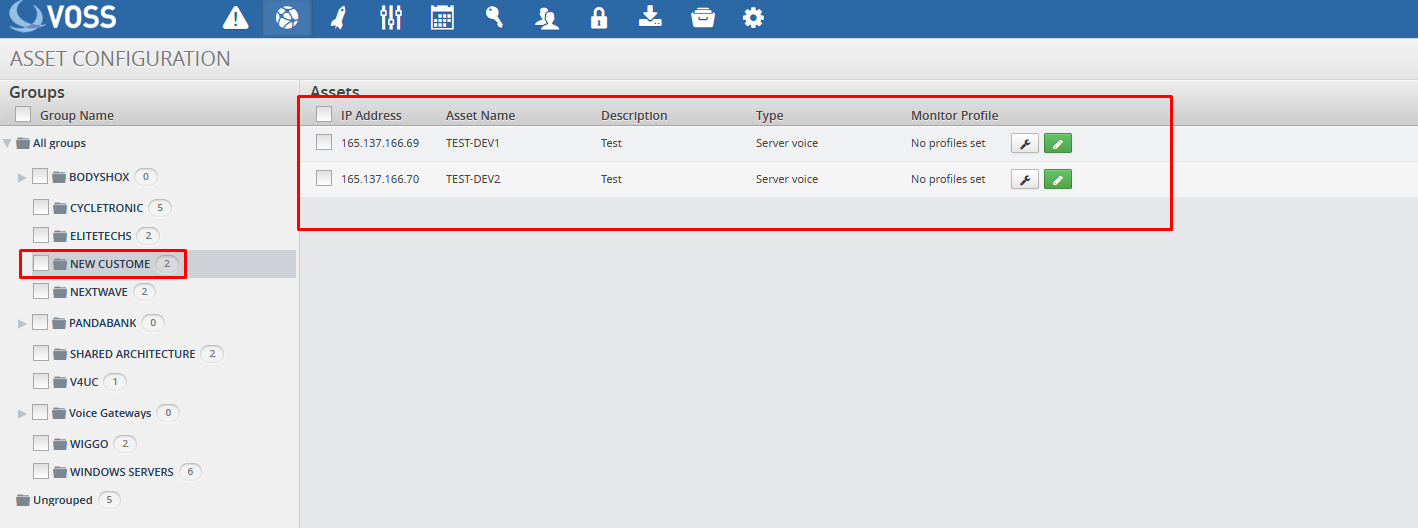
With the new folder (NEW CUSTOMER) highlighted, click the + in the right-hand pane.
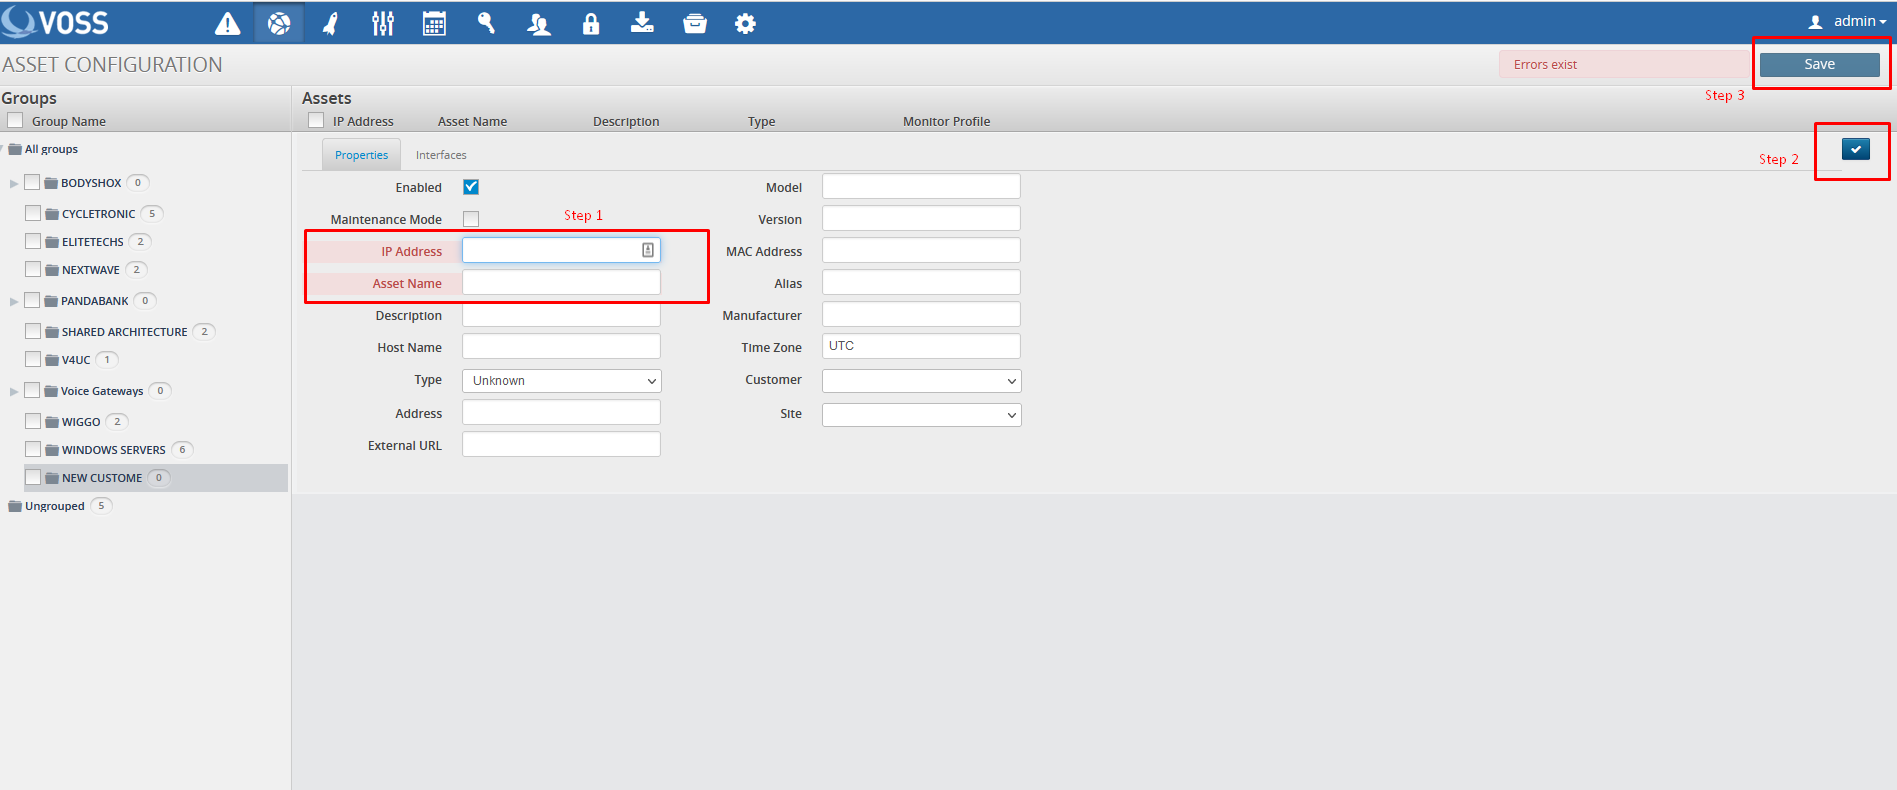
Step 1 – Enter IP Address (Mandatory)
Asset Name (Mandatory)
You may then enter any other information you have into the relevant fields.
Step 2 – Click on

Step 3 – Click Save
Repeat the above for all assets you wish to monitor.
Alternatively, you can upload multiple assets using a CSV import.
CSV Import of Assets
It is possible to upload multiple assets using a CSV file.
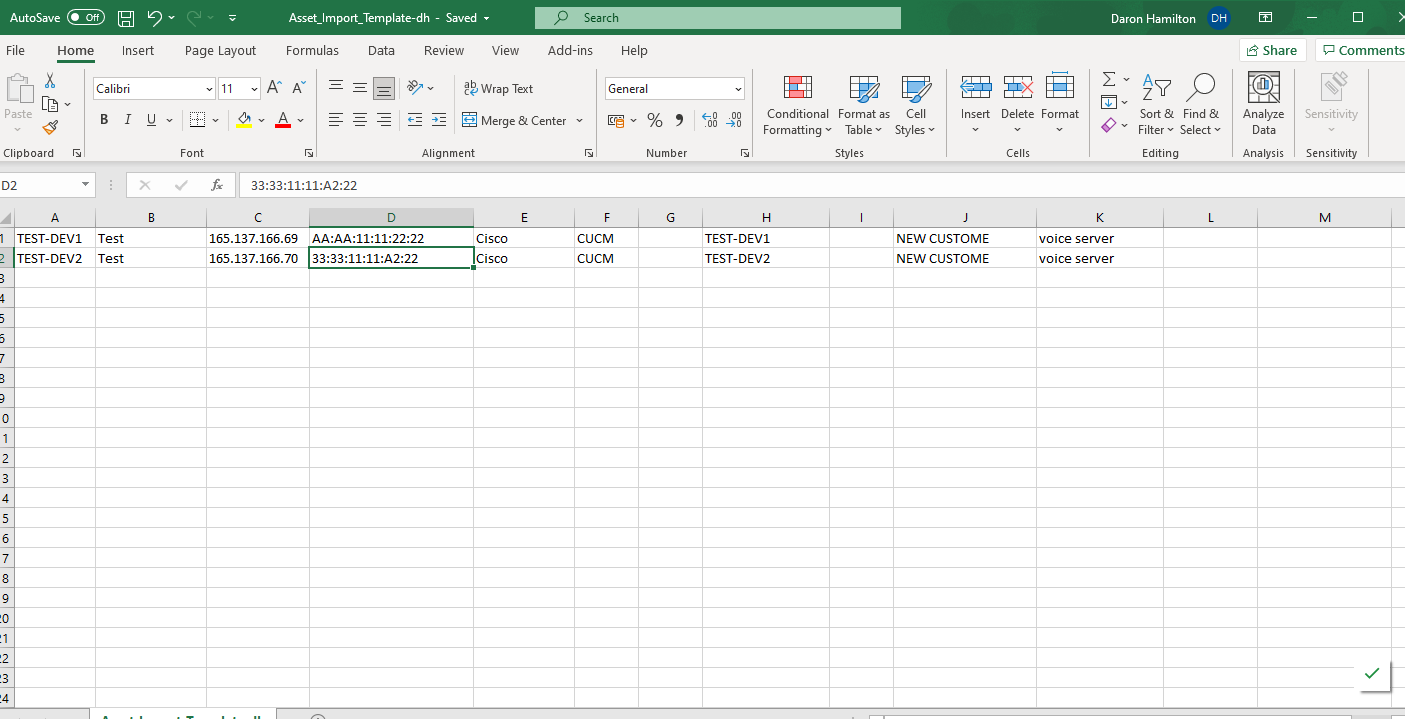
The CSV file is available in the Google Drive.

Above is an example.
The mandatory fields are:
AE_NAMEIP_ADDRESS
You can also use this CSV to create the asset and the Asset group and place the asset into the group.
Note
Remove the header row before you try to upload.
Mac Address field must be in the following format:
XX:XX:XX:XX:XX:XXRenderer – This selects the icon seen on the Arbitrator. The options are:
unknown
router
firewall
switch
voice switch
switch voice
server
voice server
server voice
workstation
phone
How to Import using CSV
Log in to the Arbitrator with admin privileges.
Click on the
 to open the configuration screen.
Click on the
 to open the Asset Configuration screen.
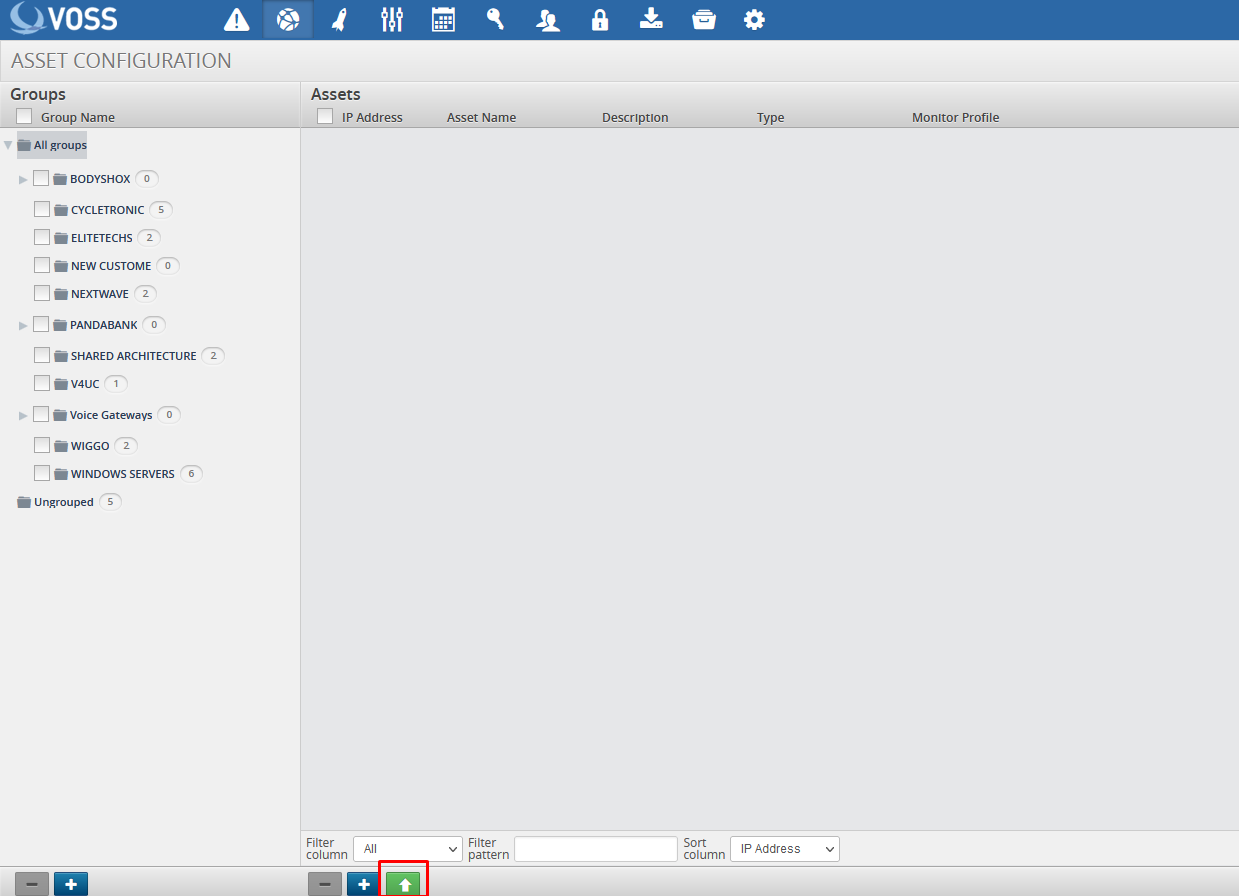
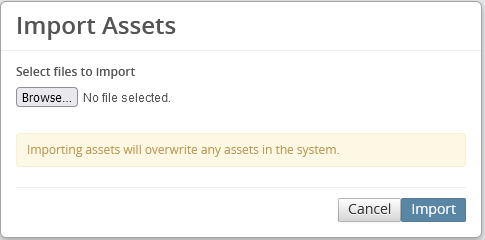
Click on the

This will then open the below.
Browse to your csv file.
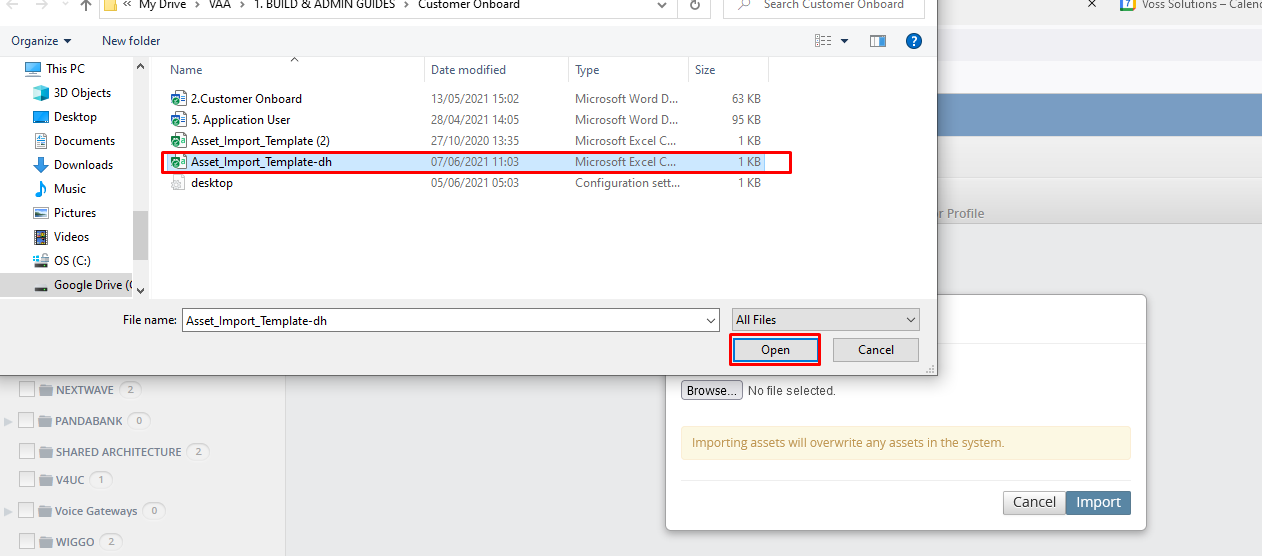
Click Open.
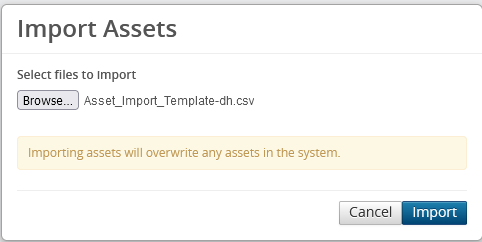
Click Import
Once the Import has completed check, the Asset Configuration screen to confirm your assets are present and in the correct location.