
Configuration Steps
Use your web browser to go to your VOSS Agent’s management portal.
Log in with the credentials provided by the VOSS support Team:
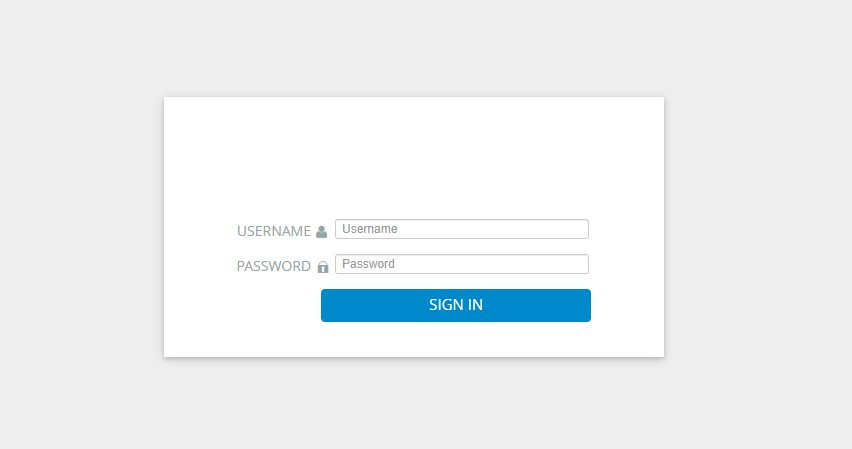
Figure 1 - VOSS Agent login screen
Click on the menu button on the top right corner and select Data Sources:
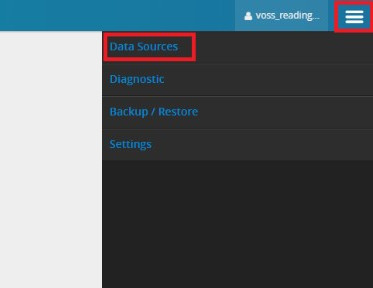
Figure 2 - VOSS Agent data source configuration
This will direct you to the data source configuration page.
Click on the blue + sign on the top left corner to create a new data source.
On the next screen, please choose the vendor and type as “Microsoft” and “Microsoft Teams Connector” respectively; give your data source a name, and click on the Next button:
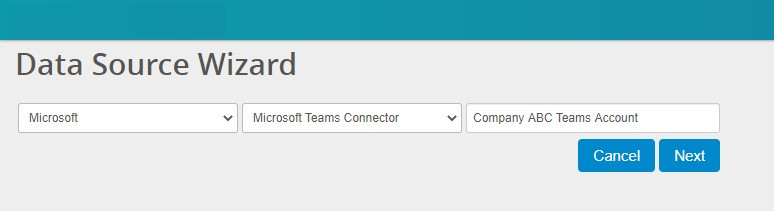
Figure 3 - VOSS Agent data source configuration for Microsoft Teams
On the next screen, choose the newly defined data source, and click on Edit. This will enable the corresponding database and API configuration menus. Start with the Data API configuration. Enter the following:
Data Source Name: This is a description of your data source.
Enable/Disable checkbox: Make sure that this checkbox is checked for successful data collection.
Username: Enter the username for the “Global Reader” account that was generated on the Microsoft Admin Portal as part of the prerequisites for this guide.
Password: Enter the password for the “Global Reader” account that was generated on the Microsoft Admin Portal as part of the prerequisites for this guide.
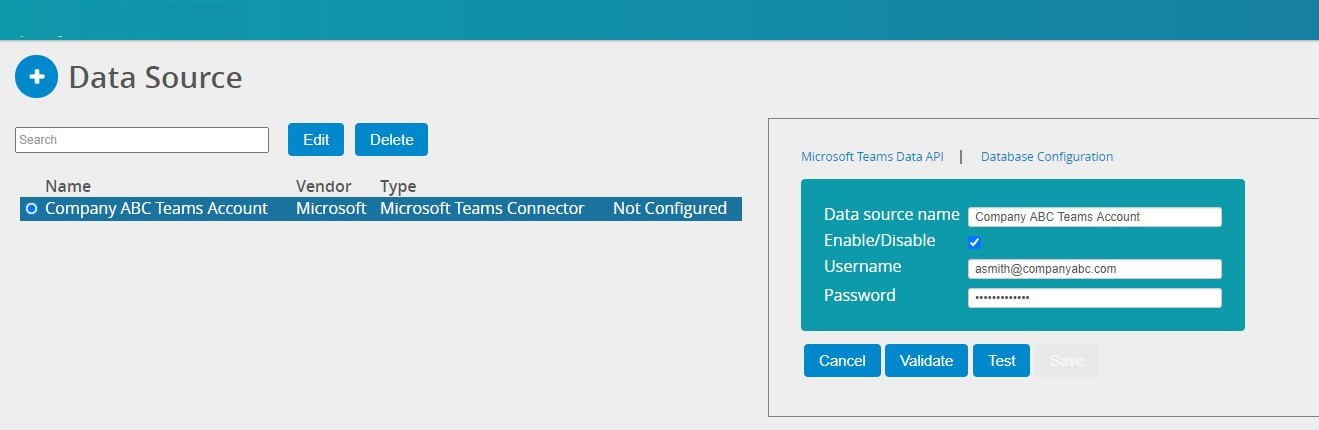
Figure 4 - VOSS Agent Microsoft API configuration for Teams
Click on the Validate button which validates that all the required values are entered.
Click on the Test button which checks your Microsoft “Global Reader” account access.
Click on the Save button to finalize the API configuration.
Note
The Save button will not be available until you validate your configuration and test it against the Microsoft API.
Depending on the network connection speed that is available to VOSS Cloud Collector, the “Test” phase may take up to a minute.
Click on the Database Configuration tab for the same data source profile. This is where you enter the connection details for a VOSS Dashboard Server which will host your collected data.
From the drop-down menu, select “Reporter DB”.
Enter the IP address for the VOSS Dashboard Server.
“Retry Delay” is used to determine how long to wait before attempting to connect to the Dashboard Server Database after a failed connection. You may leave this attribute as is.
Note
VOSS Collector uses an encrypted channel to upload the processed data to VOSS Dashboard Server. This is a unidirectional connection that is initiated by the VOSS Collector using port TCP/5432. In case, you have a firewall/NAT device between the VOSS Collector and your Dashboard Server, please ensure that you make the necessary changes on your network to allow this incoming traffic thru the firewall/NAT device. If the collector is hosted by VOSS, our support team can provide the specific public IP address that the incoming connection attempts will be coming from.
Click on the Validate button which validates the values entered.
Click on the Test button which checks the connectivity to VOSS Dashboard Server.
Click on the “Save” button to finalize the database configuration.
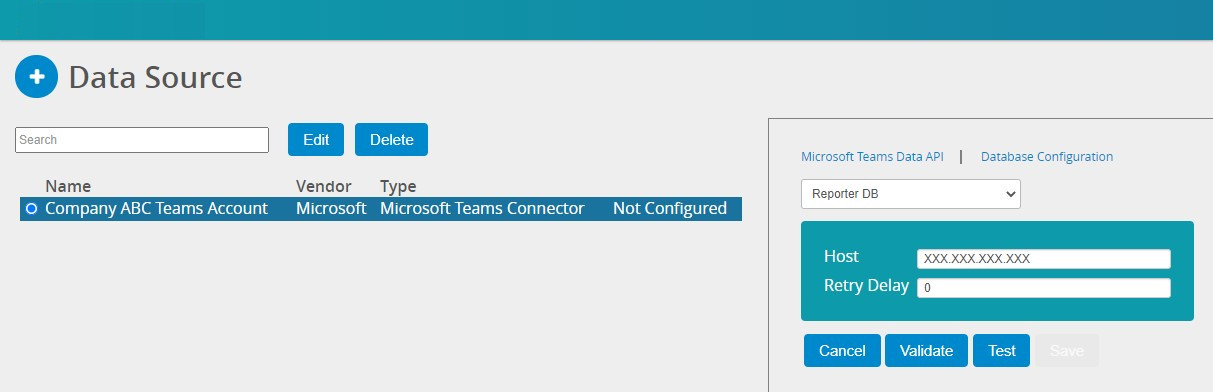
Figure 5 - VOSS Agent database configuration
At this point, we completed the configuration that is needed to collect and process Microsoft Teams data. The next step is to create a data source to collect the service health details.
Click on the blue + sign on the top left corner again to create a new data source.
On the next screen, please choose the vendor and type as “Microsoft” and “Microsoft Teams Connector” respectively; give your data source a name, and click on the Next button:
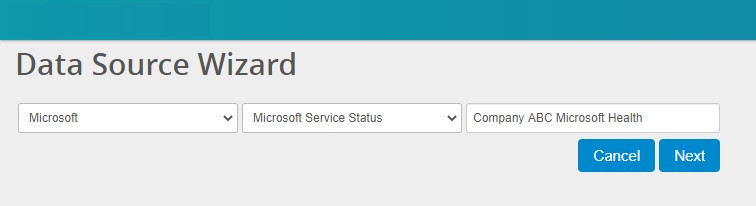
Figure 6 - VOSS Agent data source configuration for Microsoft Health Status
On the next screen, choose the newly defined data source, and click on Edit. This will enable the corresponding database and API configuration menus. Start with the Status API configuration. Enter the following:
Data Source Name: This is a description of your data source.
Enable/Disable checkbox: Make sure that this checkbox is checked for successful data collection.
Client ID: The client ID that you created during application registration.
Client Secret: The client secret that you created during application registration.
Tenant ID: The tenant ID that is assigned to your Microsoft Azure account.

Figure 7 - VOSS Agent Microsoft API configuration for Teams
Click on the Validate button which validates that all the required values are entered.
Click on the Test button which checks for successful authentication with the Microsoft API.
Click on the Save button to finalize the API configuration.
Note
The Save button will not be available until you validate your configuration and test it against the Microsoft API.
Depending on the network connection speed that is available to VOSS Cloud Collector, the “Test” phase may take up to a minute.
Click on the Database Configuration tab for the same data source profile. This is where you enter the connection details for a VOSS Dashboard Server which will host your collected data.
From the drop-down menu, select Reporter DB.
Enter the IP address for the VOSS Dashboard Server.
“Retry Delay” is used to determine how long to wait before attempting to connect to the Dashboard Server Database after a failed connection. You may leave this attribute as is.
At this point, we completed the configuration that is needed to collect and process Microsoft 365 Health and Incident data. Your VOSS Cloud collector is already collecting data.
There is only one more step remaining before you can start seeing some data on your dashboards. The module file that configures all the services and features internally for your needs to be imported to your cloud collector.
Import the module file
The final step is to import the module file that enables the internal features needed to start the collection.
Click on your username on the top right corner and choose the Configuration menu:
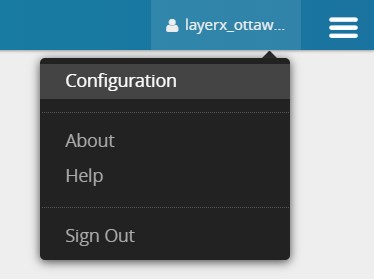
Figure 6 - VOSS Agent import module
Click on the Choose File button and locate the import file that you received from VOSS.
Click on the Upload and Check button.
Note
The import process will not work unless the API and database configurations are complete.
Click on the Deploy button to complete the import:
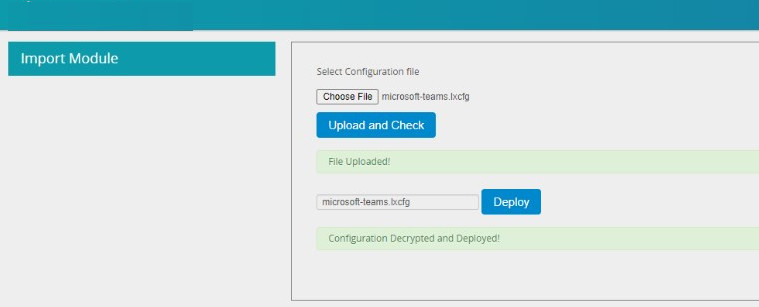
Figure 7 - VOSS Agent module deployment
The configuration of the agent is now complete. Please proceed to your Dashboard server and locate your corresponding Microsoft Teams dashboards.