Permissions
Select Permissions at the top of the page. From here you will be presented with options on defining which users or group of users have access to specific attributes of the platform.
The users defined in the system will be available in the lower right corner of the page. Click the blue + button next to Permissions to add a new group. Name your group and then drag the users you want in the group into the box just next to the users.
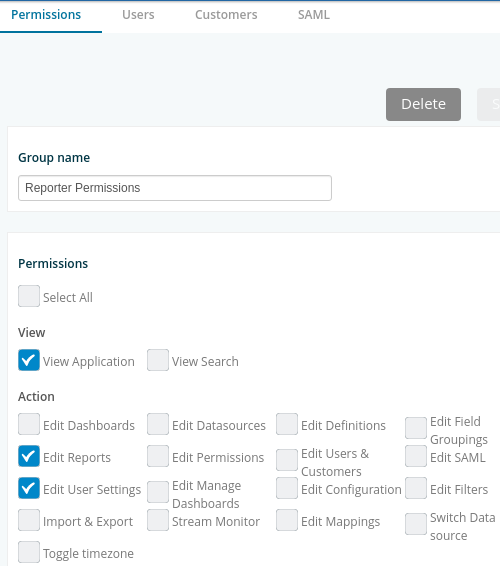
Next select all of the Permissions the group is allowed by clicking and placing a check mark next to the various functions above. Once complete save your group. The users in this group will only have access to the functions given in this Permission screen.
Syncing dashboards by Permissions Groups
Permission Groups are a way to give users specific permissions in the system. For this feature, the Permission Group is also being used to give specific dashboards to all users in a Permission Group.
To configure this, do the following:
Create a Permission Group.
Give it a name. The Permission Group should have at least the “View Application” permission checked.
Add a user to this Permission Group.
Save the Permission Group.
The next step is configuring the dashboards for the Permission Group.
Create a Dashboard folder.
Give it the same name as the Permission Group.
Add dashboards to the Dashboard folder.
When the user logs in, the user will get all dashboards in the dashboard folder that matches the Permission Group.
To enable this feature:
Go to the Admin > Configuration > LDAP tab.
Scroll down to auto_sync_dashboards_by_permission_groups.
Select “true” from the dropdown box.
Click on Commit LDAP configuration button and wait for the status window to say “Finished”.