Bulk Load Sheets#
Overview#
A bulk load template is a Microsoft Excel .xlsx format spreadsheet workbook that contains
a single sheet, and is used for bulk loading data into VOSS Automate.
A tabbed workbook may contain two or more template sheets (one sheet per model). When using a tabbed workbook, bulk load transactions are carried out from left to right, starting with the far left tab, and ending at the far right tab. For example, when adding a site under a customer in a bulk load, ensure you add the customer sheet to the left of the sheet containing details of the associated site, so that the customer detail is loaded before the site.
You can use any filename for the bulk load workbook, but since the same file can be loaded multiple times, it is recommended that you use unique names to differentiate bulk uploads.
Bulk Load Limitations#
VOSS Automate bulk load automation templates employ advanced features, such as configuration templates (CFTs), customizable field display policies (FDPs), and GUI rules.
For some resources, generated bulk load templates won’t produce the provisioning results that may be achieved when using the GUI to upload and configure data. This topic provides an overview of the bulk load limitations to consider for such scenarios.
Note
See the Bulk Load Reference Guide for more information around the specific resources where these limitations apply, the impact of the limitations, and for best practice advice for using generated loaders for various resources.
The table describes the general bulk load limitations:
Limitation |
Description |
|---|---|
Certain fields link together different resources |
These fields might be hidden in the GUI, or they may be read-only.
In generated bulk load templates, these field are currently exposed as
mandatory fields. The fields and the specific conventions that are used in
the template to link the fields together are highlighted in notes specific
to the resource. For example, the value for remote destination name should
be specified as |
Certain fields are derived from other system data |
Notes specific to the resource highlights where to obtain possible values for such fields. Examples are key-value type fields of a phone’s vendor configuration settings. |
GUI rules defined in the user interface that aren’t replicated in the backend workflow must be considered in the loader to achieve the same provisioning results as the GUI. |
Examples - GUI rules may:
|
The image shows that A GUI Rule may, for example, disable input fields based on the state of a checkbox. On the worksheet, the selected checkbox is represented as TRUE in the column. Columns associated with the disabled fields should not be filled.

Sample Bulk Load Sheets#
To overcome the complexities introduced by the bulk load limitations, a set of sample bulk load sheets have been generated that enable users to get started quickly and to leverage the best practices developed by VOSS.
The latest sample bulk loaders can be obtained from your account team.
Bulk Loading Files#
This procedure uploads two or more .xlsx worksheets in a bulk upload.
Prerequisites
File formats must be
.xlsx.Ensure any referenced configuration templates are available.
Verify details in each file, and ensure they contain all required information.
Remove any comments from the worksheets, for example, comments showing as a marker in the cell with a pop-up.
To send empty values, in the relevant cell of the value column:
type
<NULL>in the cell
Note
Spreadsheet formulas in data are ignored, for example: '=7+2'
To bulk load files
In the Admin Portal, go to (default menus) Administration > Bulk Upload to open the Build Load page.
Set the hierarchy to the level where you want to add bulk data.
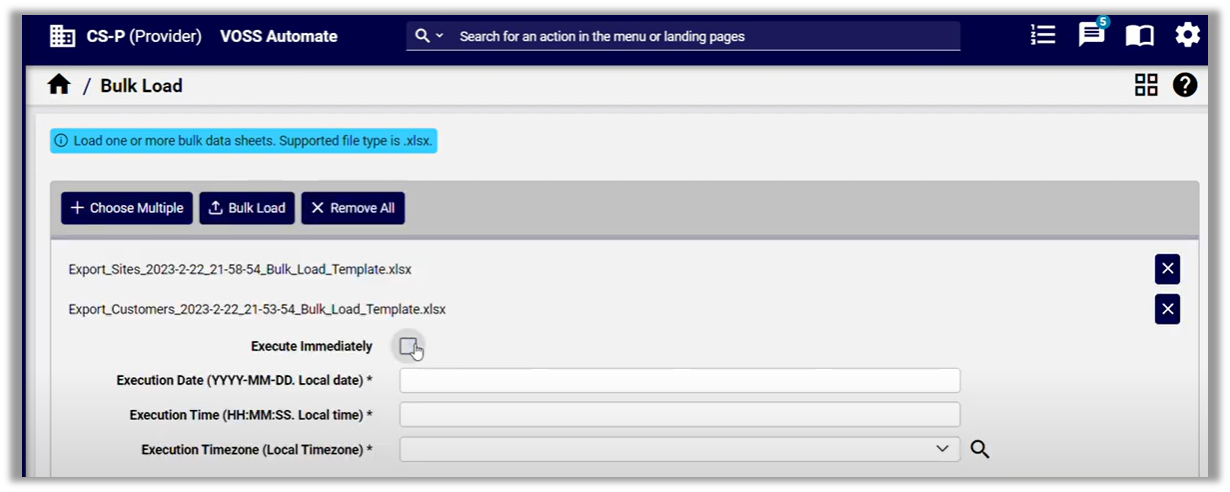
On the Bulk Load page, click Choose Multiple; then, browse to the files you wish to upload.

Choose an option:
To remove any files, click the X icon adjacent to the filename.
To remove all files, click Remove All, and if required, choose alternative files.
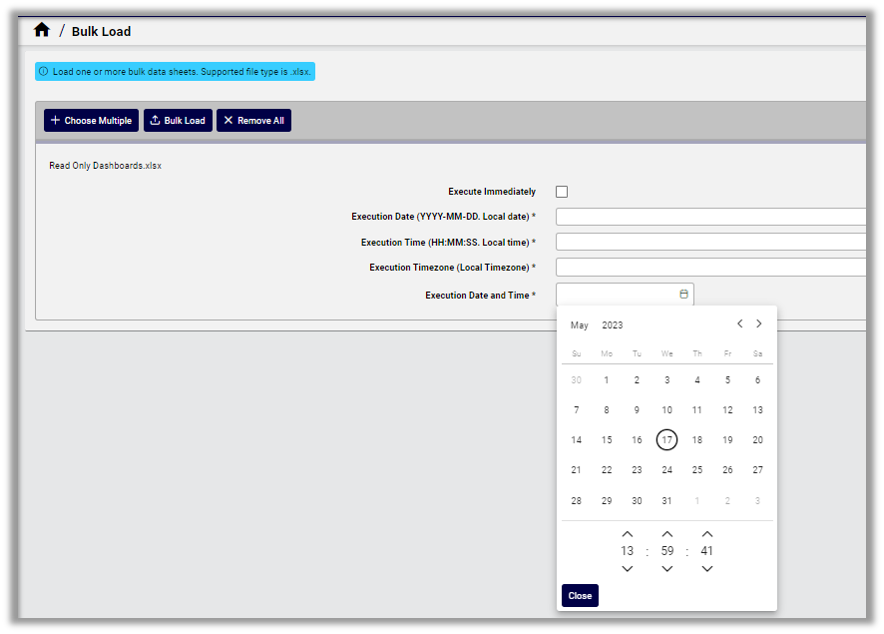
To execute the bulk load transaction immediately, select Execute Immediately, else, clear the checkbox and specify an execution date, time, and timezone.

Click Bulk Load.
Wait for the transaction to complete, then view results.
Note
The Execute Bulk Load sub-transaction list will show the transaction for each row of the sheet.
If the transaction is scheduled for a future date, you’ll need to check on it at the scheduled execution date and time. Scheduled bulk loads display in the list view of the schedule, with the name and upload date of the sheet.
The Bulk Load button is temporarily disabled until the sheets that have been bulk loaded and are in progress have completed. To continue bulk loading while sheet loading is in progress, clear (remove) the current sheet or choose Remove All and select a new sheet to load.