Working with Dashboards#
View Dashboards#
To access the dashboards library, click the toolbar Main Menu icon (hamburger) to expand the panel displaying a list of the available default and custom dashboards.
Note
Folders and dashboards display only if search definitions have been performed. You will need to create search definitions to view these items.
Related Topics
Define Dashboard Time Frame#
Select a dashboard to define its date/time frame (the period for which data displays), which defaults to 24 hours.
Click on the date drop-down at the top-right of the screen to open the calendar, along with a list of pre-set time frames (for example, Last 5 minutes, Last 30 Minutes, Last Hour). Scroll through and select the date/timeframe that you want to include on the dashboard.
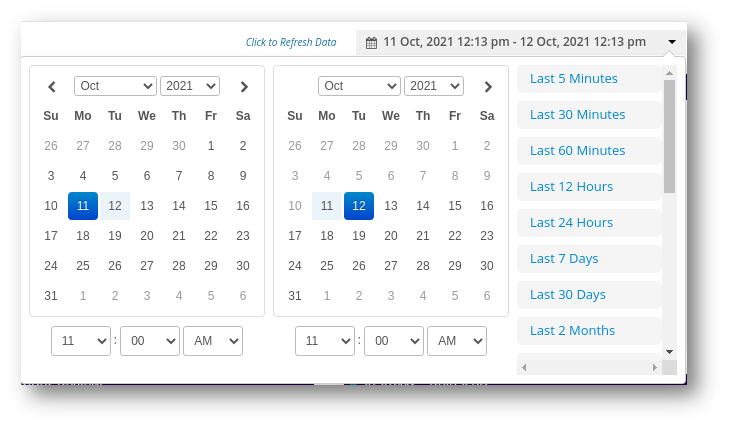
An option is available to toggle between Local time and UTC time in the display.
Note that, as with the search definition, the more time selected the more data to analyze thus time to render the widgets is based on the time frame selected and the amount of data to pull.
Clone a Dashboard#
Cloning a dashboard creates a copy of an existing dashboard, which you can rename and edit to create a new dashboard.
Note
The VOSS Reference Dashboards are read-only. You can clone a reference dashboard then edit the clone to suit your requirements.
Select a dashboard from the dashboard library.
Click the Dashboard Operations icon on the toolbar (vertical ellipsis), then select Clone Dashboard to open the Dashboard Editor with a copy of the dashboard’s properties.
Change the dashboard name, then click Save.
The new dashboard you created (copy of an existing dashboard) opens. Now you can edit the dashboard widgets.
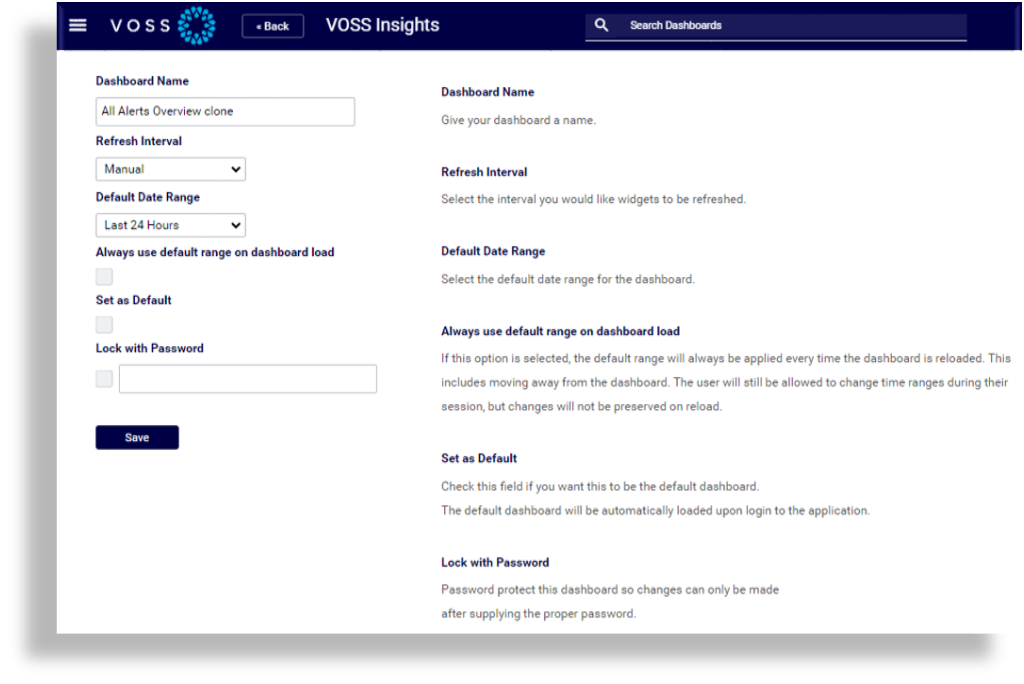
Edit Dashboard#
Select a dashboard from the dashboard library.
Click the Dashboard Operations icon on the toolbar (vertical ellipsis), then select Edit Dashboard to open the Dashboard Editor.
Note
The VOSS Reference Dashboards are read-only. You can clone a reference dashboard then edit the clone to suit your requirements.
Define a refresh interval from the drop-down to determine how often the system refreshes data from the database for this dashboard.
Edit settings as required, then click Save.
Add a Widget to a Dashboard#
Select a dashboard from the dashboard library.
Click the Dashboard Operations icon on the toolbar (vertical ellipsis), then select Add Widget to open the Add Widget dialog.
Select the widget type
Build the widget, then save your changes. See Working with Dashboard Widgets
Position Widgets on a Dashboard#
Select a dashboard from the dashboard library.
Click the Dashboard Operations icon on the toolbar (vertical ellipsis), then select Position Widgets to make the dashboard editable so that you can move widgets around the page and resize boxes.
You can drag the widget from the bottom right corner of the widget to resize it, or to move the widget, you can click on it and hold the mouse down, then move the widget to another location on the dashboard.
Save your changes.
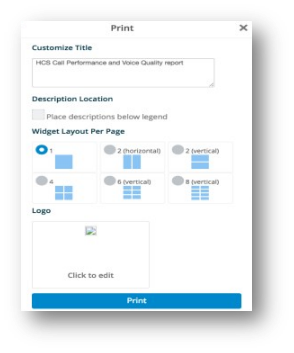
Print Dashboard#
Select a dashboard from the dashboard library.
Click the Dashboard Operations icon on the toolbar (vertical ellipsis), then select Print Dashboard to open the Print dialog.
Fill out a title for print job, and choose print options.
For example, select Place descriptions below legend to place all description text in the widgets below the charts.
You can also select the design by choosing the number of widgets to place on a page, and you can upload a logo.
Click Print to print the report (or click the Close icon, X, to cancel).
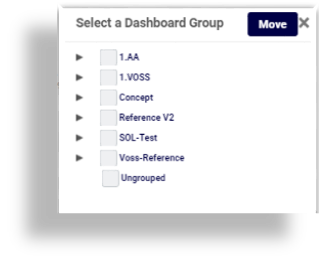
Move a Dashboard#
Select a dashboard from the dashboard library.
Click the Dashboard Operations icon on the toolbar (vertical ellipsis), then select Move Dashboard.
On the pop-up, choose the folder to where you want to move the dashboard.
Click Move.
Delete a Dashboard#
Select a dashboard from the dashboard library.
Click the Dashboard Operations icon on the toolbar (vertical ellipsis), then select Delete Dashboard.
The dashboard will be deleted and removed from the menu.
Note
This does not delete the extraction definitions. You will need to go to the search screen for this function.