
Distributing Licensing Reports#
As part of the license reporting process, the product has multiple options to enable sending the generated license report files automatically and/or to make them available via the admin portal. This simplifies the collection of the files for internal use as well as sending to VOSS as required. It is highly recommended that at least one of the options is set up to make the process of file collection/sharing easier in the environment.
The easiest and most recommended approach to sharing the file with VOSS is to utilize the VOSS Cloud Licensing Service. This process will register your platform which streamlines support engagement but also will automate the license audit collection required. This can be used in conjunction with the other automatic file sending options for internal use as needed. However if this is not possible, there are a number of other options to still streamline getting the file which can then be sent on to VOSS.
As a reminder, for internal use, the license audit data can be reviewed via the admin portal and does not require the files to be viewed. Further details are available in License Counting Details.
In order to set up automated handling of the generated license audit report, the summary of steps are:
Decide the destination(s) and the file for each destination
Set up the destinations and related configuration
Validate that the destinations are utilized when the file is generated (via schedule or adhoc).
In the event that it is required, you can also access the files via SFTP to the platform:
Connect to the primary node IP using SCP or SFTP on port 22.
The extracts will be located in the
media/data_export/license/directory.Collect the appropriate file(s)
Configure License Delivery#
System administrators with the required permissions (default is sysadmin) have the option from the Licensing menu to configure the delivery of the audit data by means of one or more of the following delivery methods and combine them into one or more File Transfer Destinations. These destinations can then be used to transfer the audit data.
The delivery method configuration can be accessed from the menus:
VOSS Cloud Licensing Service (recommended)
Automatically upload license audit files to the VOSS Customer Portal - see: VOSS Cloud Licensing Service.
Email Destinations
Requires an SMTP server configured on the SMTP Server menu. (Add a SMTP Server)
Destination name, SMTP server, sender, addressee and email subject are mandatory.
Options can be input for email addressees, otherwise the addressee is the sender.
File Destinations
Allows for data files to be stored in the database and downloaded via the Audit Report Files menu.
A mandatory Name at either the
syshierarchy level or provider hierarchy level is added to define the file destination.If this destination is used, as an instance of the File Transfer Destinations, the Audit Report Files menu shows the list of data files at the specified hierarchy level. Files on the system starting with
vlfare listed here.Note
If needed, the files can be deleted from the list, but this action does not remove files saved to the file system.
To download the files, choose Export > JSON from the menu bar. The export will be a
.zipfile with aFILESdirectory containing all the files selected in the list view.
HTTP Destinations
Destination name, hostname, HTTP method and URL endpoint must be provided.
Options are available for user credentials, port, a secure connection and a client certificate.
SFTP Destinations
Destination name, hostname and username is mandatory
Options are available for port, user password and destination directory
Web Proxies
Proxy setup for delivery methods using web proxies - see: Set up a Web Proxy for Licensing Delivery.
When the required methods have been configured, the scheduled audit data collection can also deliver the data files by these methods.
Workflow steps:
Set up one or more delivery method destinations listed above.
Combine configured delivery method destinations into one or more file transfer destinations (File Transfer Destinations menu).
On the Settings menu:
Configure one or more settings instances that combines a file transfer destination and a file format and save the settings.
The File format options correspond with the available audit report file types.
For details on the format and contents, refer to the Licensing and Subscriber Data Export Guide.
Anonymous CSV(file format:vlf_<provider_name>_<host_name>_anonymous_legacy_<YYYY-MM-DD_HHMM>.csv)Anonymous ZIP(file format:vlf_<provider_name>_<host_name>_license_legacy_<YYYY-MM-DD_HHMM>.zip)Contains
<YYYY-MM-DD_HHMM>_licensedirectory with files of format:vlf_<provider_name>_<host_name>_anonymous_legacy_<YYYY-MM-DD_HHMM>.csvvlf_<provider_name>_<host_name>_anonymous_legacy_<YYYY-MM-DD_HHMM>.csv.hash
The files with
_breakdown_in the name refer to Microsoft license usage.vlf_<provider_name>_<host_name>_anonymous_breakdown_legacy_<YYYY-MM-DD_HHMM>.csvvlf_<provider_name>_<host_name>_anonymous_breakdown_legacy_<YYYY-MM-DD_HHMM>.csv.hash
Additional files:
vlf_<provider_name>_<host_name>_adaptation_log_legacy_<YYYY-MM-DD_HHMM>.jsonvlf_<provider_name>_<host_name>_adaptation_log_legacy_<YYYY-MM-DD_HHMM>.json.hashvlf_<provider_name>_<host_name>_patch_legacy_<YYYY-MM-DD_HHMM>.jsonvlf_<provider_name>_<host_name>_patch_legacy_<YYYY-MM-DD_HHMM>.json.hash
Detailed CSV(file format:vlf_<provider_name>_<host_name>_detailed_legacy_<YYYY-MM-DD_HHMM>.csv)
More than one combination of destination and file format can be set up if needed.
An option is available to test the delivery of sample dummy data from an instance of the settings, in other words, delivery to the configured destinations.
At the scheduled collection date of the system or when the command is run manually on the platform CLI, the files are then:
saved to the platform filesystem (see Licensing and Subscriber Data Export Guide)
transferred to destinations and with methods according to the configured Settings combination(s) of: file transfer destination and file format
if the File Destinations destination is used:
available for export on the GUI from the Audit Report Files menu
an entry is shown in the transaction log (data/File save with either succeeded or failed)
If it’s easy, on the bullet list of destinations, just stick VOSS Cloud Licensing Service first in the list and indicate it is the recommended set up.
VOSS Cloud Licensing Service#
In order to automate the retrieval of the VOSS license audit files from the system to deliver them to VOSS as required, the files can automatically be uploaded to the VOSS Customer Portal.
The integration and automation is carried out by:
Capturing and activating customer organization details on VOSS Cloud Licensing Service from VOSS Automate:
Automatic inclusion upload of license audit files to the VOSS Cloud Licensing Service when the system runs an internal schedule to generate monthly license reports.
Set Up the VOSS Cloud Licensing Service#
VOSS Automate provides options to set up your VOSS Cloud Licensing service. The system registers your VOSS Cloud Licensing Service when saving the form.
Before you start
Open these ports to communicate with the VOSS Customer Portal:
Default HTTP: port 80
Default HTTPS: port 443
Add the host name to an allowlist for trusted servers: platform.voss-solutions.com
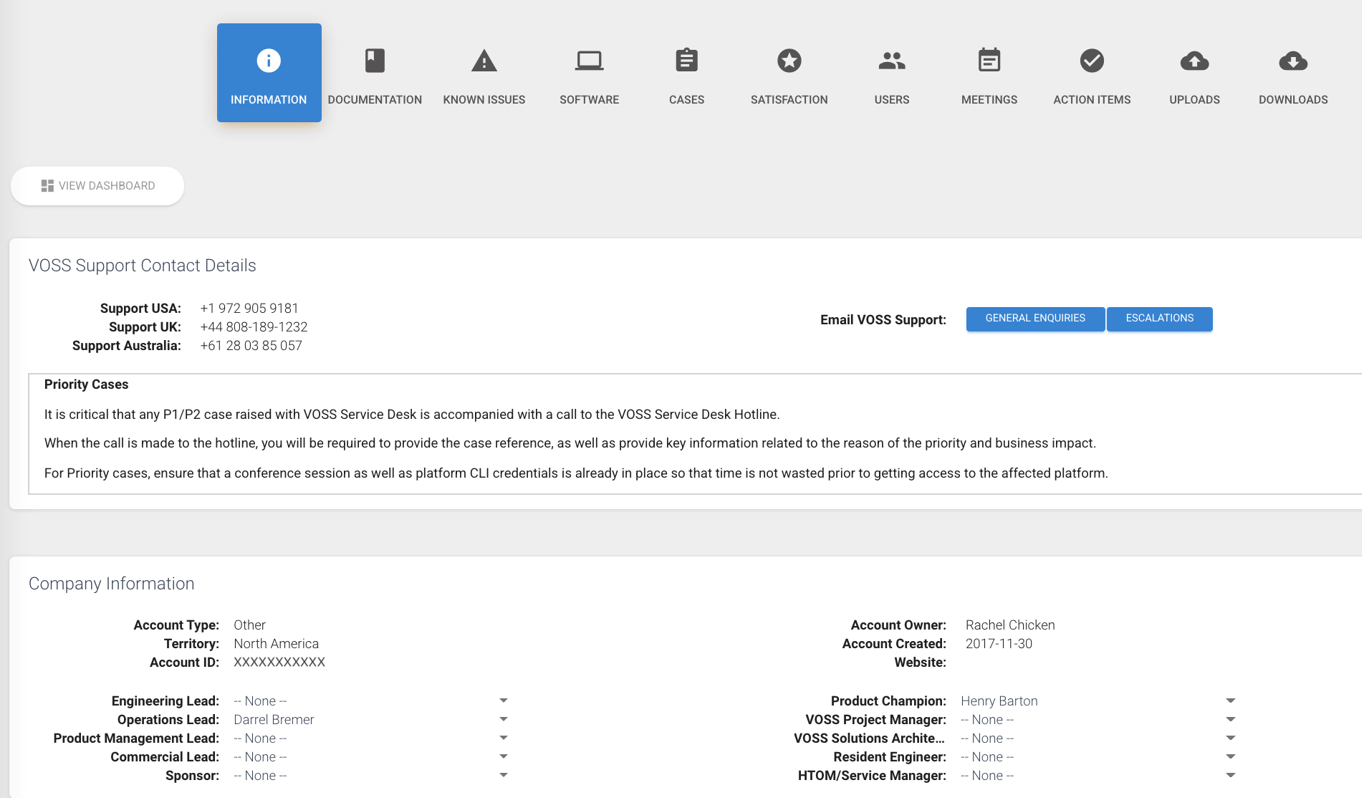
Obtain license details for your organization from the VOSS Customer Portal, at voss.portalshape.com/organisations:
On the Information tab, locate and copy your Account ID.
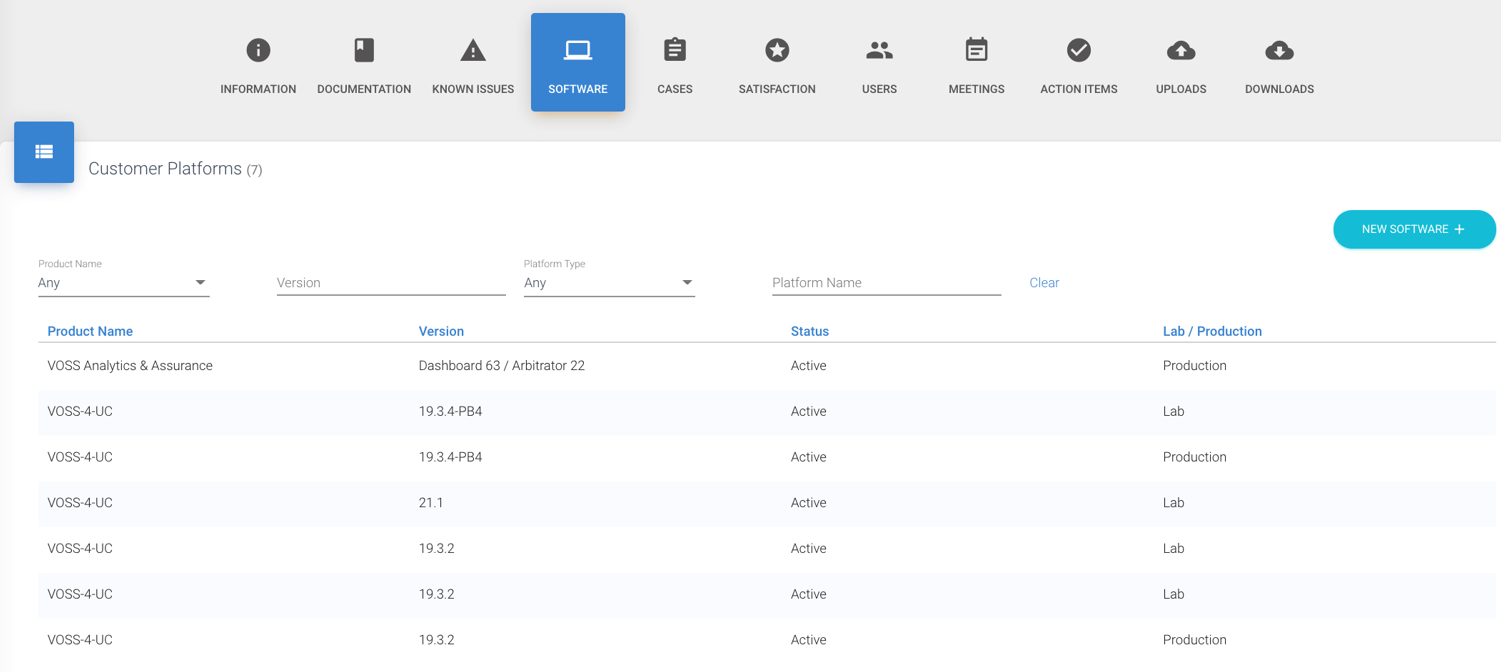
On the Software tab, identify the installation type (Lab or Platform), and copy the platform name.
To add and activate the license
Log in to the Admin Portal as a high-level administrator (system admin or above).
Go to Administration Menu > Licensing > VOSS Cloud Licensing Service.
In the Organization ID field, enter the account ID you obtained from the VOSS Customer Portal.
In the Customer account information field, enter the platform name you obtained from the VOSS Customer Portal (or enter a new server name) to identify your VOSS Automate installation.
Choose your Installation Type, either
LaborProduction, as obtained from the VOSS Customer Portal.At the File format drop-down, choose your file format. The default,
See also Data Export Types.Anonymous ZIP, includes a checksum hash.Choose whether to enable File Upload Active.
If a web proxy is required, ensure that it is set up on the Web proxy menu and choose it from the drop down.
For web proxy setup, see Set up a Web Proxy for Licensing Delivery.
Click Save.
Note
Save will fail if no internet connection can be established to the VOSS Cloud Licensing Service.
Once the configuration is saved, the connection to the VOSS Cloud Licensing Service can be tested through the Test Connection actions on the form when investigating failures to upload license data files.
In the unlikely event that it is required to change the Organization ID associated with the platform, it is possible to modify the instance, which will attempt to re-register the platform with the VOSS Cloud Licensing Service. A failure will rollback the configuration to the previous state.
Add a SMTP Server#
This procedure adds a SMTP server at a hierarchy level.
Prerequisites:
Enable email in the Global Settings (Email tab).
Perform these steps:
Log in to the Admin Portal.
Choose the relevant hierarchy.
Note
Configure the SMTP server at the hierarchy where you want to allow VOSS Automate to send email messages.
You may only set up one SMTP server at each hierarchy level. The SMTP server will be available at the current hierarchy and below. For example, for a SMTP set up at a specific customer, the sites below that customer can use that SMTP server.
Go to (default menus) Apps Management > SMTP Server.
Click the toolbar Plus sign (+) to add a new SMTP server.
On the SMTP Server form, fill out details for the new SMTP server in the form fields:
Field
Description
Name
The SMTP server name.
Description
A description for the email account.
Port
The port number.
Secure
Relevant only for SSL connections to the SMTP server.
Select the checkbox (enable) to use the SSL protocol for connections to the SMTP server.
Default is disabled (checkbox is left clear), for TLS and unsecure logins to the SMTP server.
Username
The username credential for establishing a connection to the SMTP server.
Password
The password credential for establishing a connection to the SMTP server.
Save your changes.
Related Topics
Set up a Web Proxy for Licensing Delivery#
If your licensing delivery method configuration includes a destination that allows for the selection of a web proxy, the proxy setup can be added from the Web Proxies menu.
Add a web proxy to capture its connection details in the partner deployment.
From the menu, add an instance and complete the necessary fields:
Name
Web protocol (http/https)
Proxy protocol (http)
Proxy address
Proxy port
Username
Password
Click Save.
The web proxy Name will be available to select on file transfer destination input forms that have Web proxy drop downs, for example VOSS Cloud Licensing Service.