Nutanix#
Installation hardware requirements by solution:
See Arbitrator Correlation Consolidation VM sizing specifications
See Arbitrator Correlation Consolidation VM sizing specifications
Download the install file#
Download the install file for your release from the New Installation folder on the client portal.
insights-<deployment>-<version>-nutanix.zip
File contents supplied are the OS Disk in raw format - pre-installed.
insights-<deployment>-<version>-nutanix.raw
Upload the OS Disk and Data Disk (DS9 Only)#
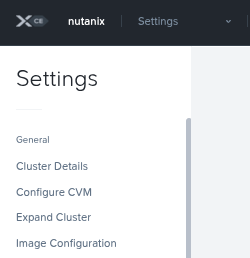
Select Settings from the drop down menu top left, then Image Configuration.
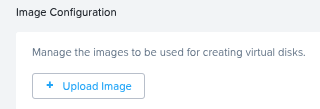
Click Upload Image
File in:
Name: Name the image accordingly - e.g.
insights-dashboard-nutanix.rawImage Type:
DiskStorage Container: Select the required Storage Container
Image Source: Either
URLorUpload a fileView the tasks to see the progress of the image creation
Create the VM#
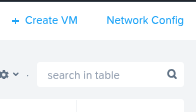
Select VM from the drop down menu top left, then the Table tab.
Click Create VM at the top right
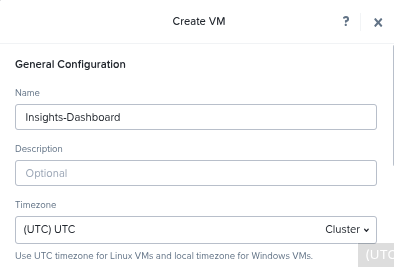
Give the VM a name
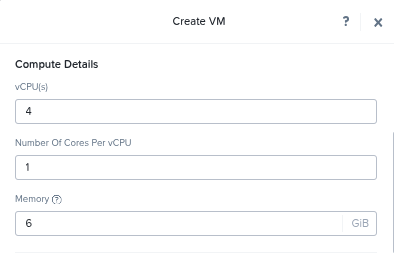
Set the CPU and RAM according to the documentation.
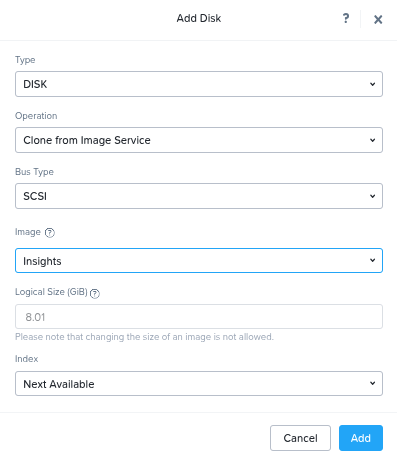
Add the OS Disk
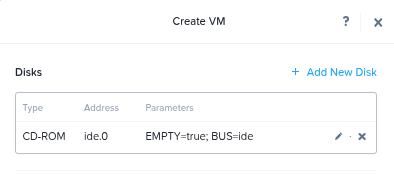
Type:
DiskOperation:
Clone from Image ServiceBus Type:
SCSIImage: Select the image / raw disk uploaded in previous step
Click Add
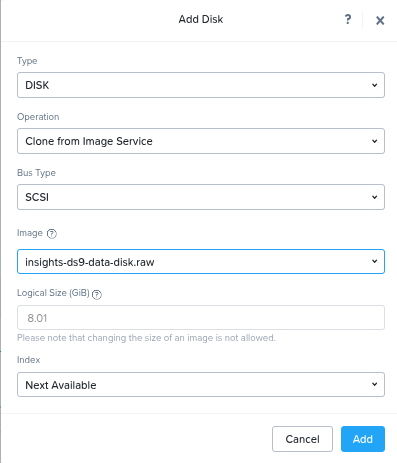
Add the Data Disk (DS9 Only)
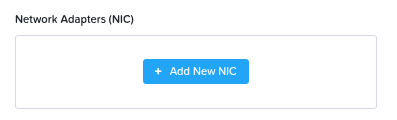
Add the NIC and finally click Save
Increase the OS Disk and Data Disk (DS9 Only) size#
It is required to resize the disk size according to the hardware specifications in the documentation
Select VM from the drop down list top left
From Table: Select the VM
Edit the Virtual Disk#
Click Update.
Scroll to the Disks section.
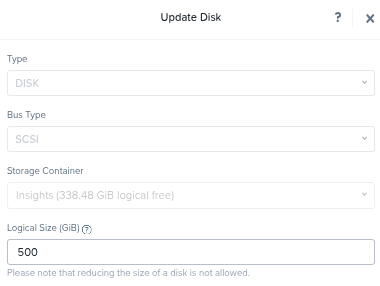
Click the pencil icon to edit the OS Disk.
Increase Logical Size (GiB) to the new value according to the hardware specifications in the documentation.
Click Update, then Save.
Power the VM on and launch the console#
Right click the VM Power On.
Once powered on, right click the VM Launch Console
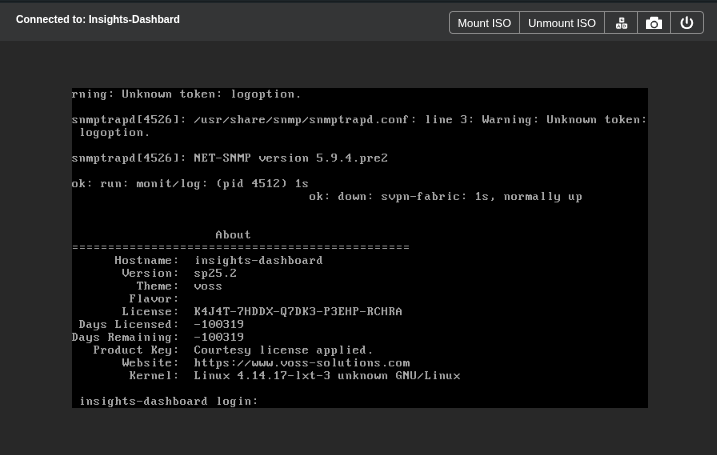
Log in via the
adminaccount
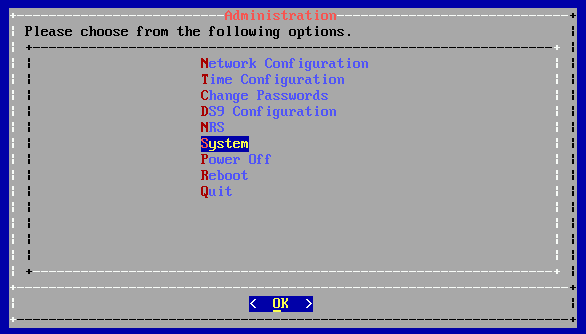
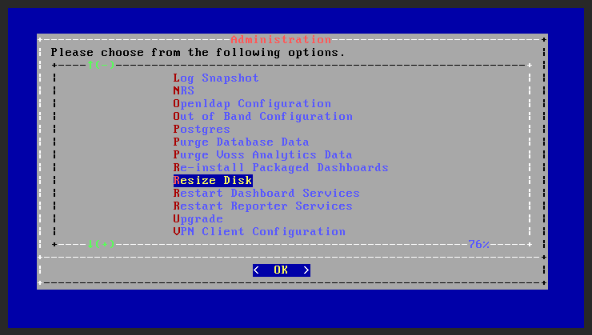
Update the OS Disk size (Arbitrator and Dashboard)#
Scroll to Resize Disk and resize it according to the documentation.
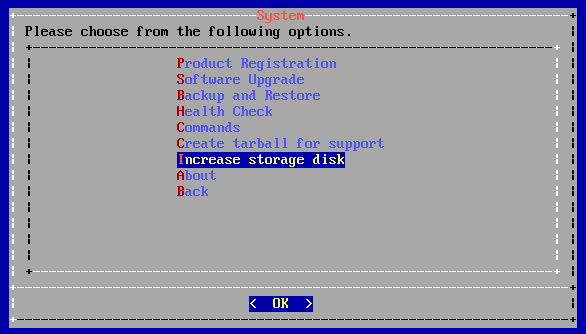
Update the Data Disk Size (DS9)#
Scroll to System > Increase Storage Size and resize according to the documentation