Working with Lists#
Tutorial: videocam
If you found this video helpful, you can find more at Tutorials Home.
Overview#
Summary views of resources and services are shown in lists in the VOSS Automate Admin Portal. For example, you can view a list of components in your system hierarchies, or to view a list of customers, sites, users, subscribers, servers, or device types.
The lists include functionality that allows you to sort, order, and filter items, and to navigate across multiple pages.
Related Topics
Get Total#
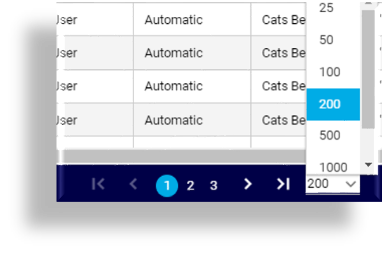
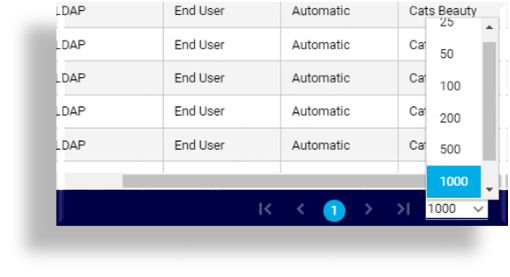
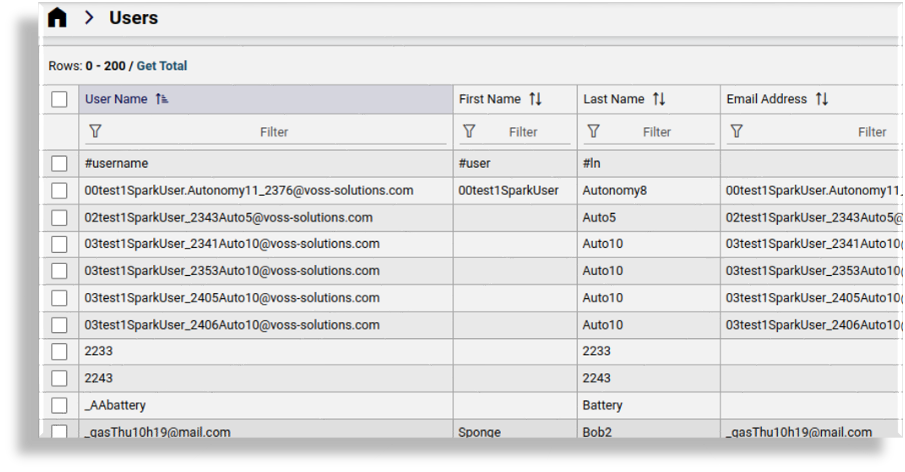
A Get Total link is available at the top of list and filtered views to show the total number of rows in a list in the case where there are more than the default 200 rows shown on a page. Pagination controls will then be adjusted accordingly.
The purpose of this control is to speed up the initial display of long lists.
Refresh Lists#
List views refresh by default, when:
A transaction (related to items you’re viewing on the list) completes.
Clicking again on the menu option for the list. For example, when looking at a list of phones (default menus: Cisco Subscriber Management > Phones), clicking the Phones menu in the left navigation refreshes the list.
Note
If you have a filter applied to the list, refreshing the list displays the new item if it matches any applied filters. In the scenario described above, if you have a filter applied to only show phones containing the characters 123, the refreshed list view will show any new phones containing these characters.
Reorder Columns#
VOSS Automate allows you to select and drag a column to a new position in the list view, to rearrange the order of the columns. The updated column order is retained for you in your browser’s local storage, until that storage is cleared.

Sort and Order Lists#
Columns in the list views may contain string values or numeric values. The default sort order is on the first column, either alphabetically (descending) for string value columns, or numerically (descending) for numeric value columns.
To sort the list based on values in a column, click on any column header. Click again to change the direction of the sort order. An up/down arrow in the column header indicates the sort order.
When sorting:
Cells with no value move to the top or bottom of the list, depending on the sort order (ascending or descending).
Upper case letters letters sort before lower case letters.
Any column can be sorted, provided no filter is applied.
Applying a filter to two or more columns disables sort.
Leading spaces in field values are dropped from the list view. This may affect the sort order.
Values in the Located At column are sorted according to the string value, and not the hierarchy path.
Filter Lists#
This topic describes filtering on resource and service summary lists. For details around filtering transactions, sub-transactions, and log lists, see Filter Transactions.
A filter remains active until you remove it or until your user session ends (even if you navigate away from the page). If you’re not seeing all data on a list, clear the filter by clicking the X icon adjacent to the Filter button, or open the dialog and remove filters.
Note
In the Admin Portal, when opening a list via a menu, and you create and apply a filter to this list, the filter is not retained for this list when you open the same list from a dashboard. The filter is retained for the list only when opening the list from a menu (any menu where that list is available).
The same applies for lists that you launch from a dashboard, when you create and apply a filter to the list you opened from the dashboard. In this case, the filter is only retained on the list when you open that list from a dashboard (any dashboard where that list is available)
To speed up the initial display of long lists, a Get Total link is available at the top of list and filtered list views where there are more than the default 200 rows shown on a page. Pagination controls will then be adjusted accordingly.
The Automate Admin Portal provides two options to filter a list view:
Advanced filter
Quick filter
To filter lists in the Admin Portal:
Log into the Admin Portal.
Open a list view for a resource or service. For example, (default menus) User Management > Users.
Add or modify filter criteria. The table describes the options:
Note
You can also sort the columns of filtered lists.
Filter option |
Description |
|---|---|
Advanced filter |
|
Filter option |
Description |
|---|---|
Quick filter |
|
Filter Examples
Specify advanced filter criteria in the Filter dialog.
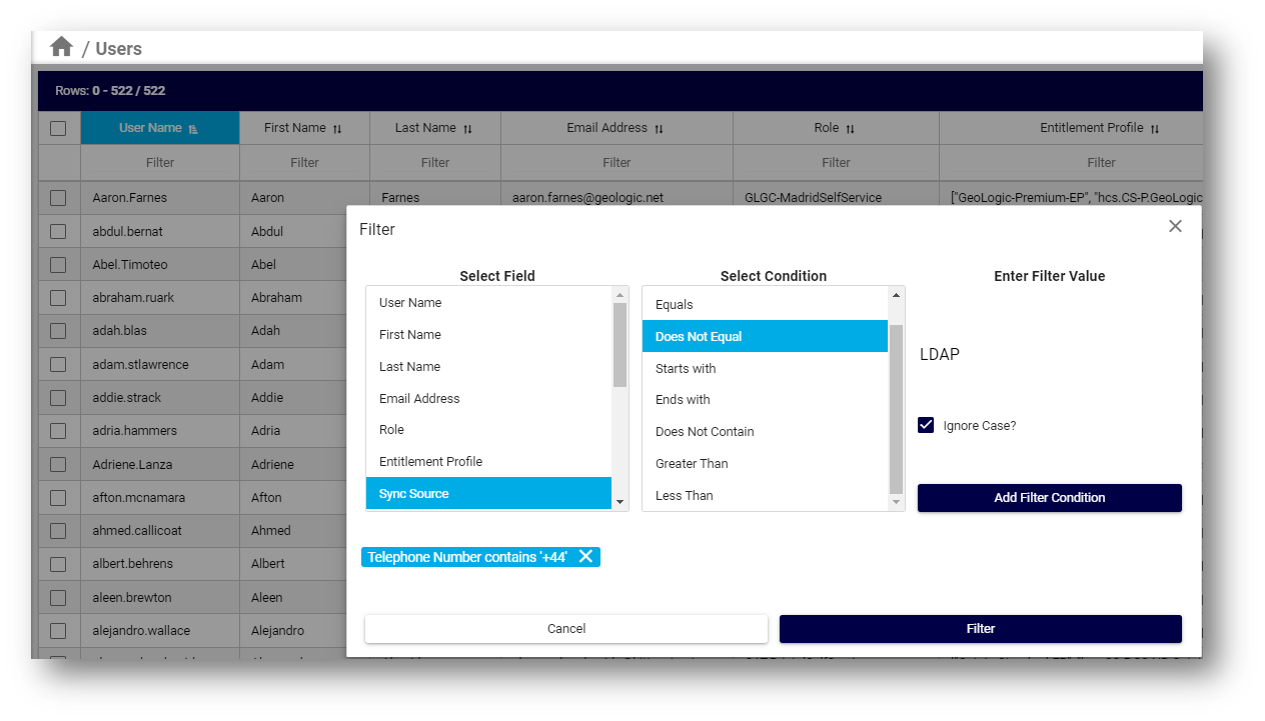
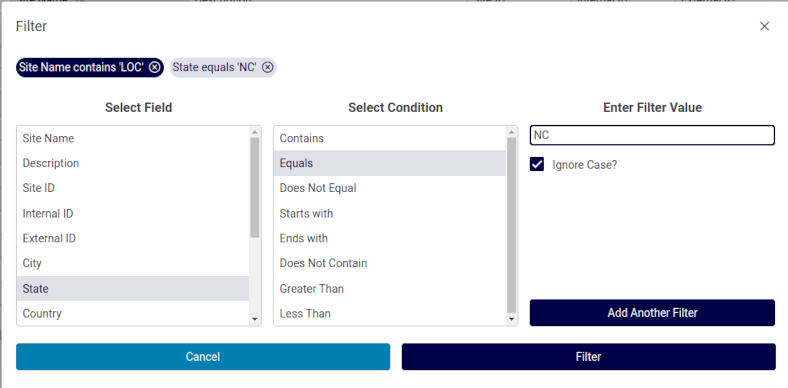
Advanced and quick filter criteria you add displays at the top of the page, and to the top of the relevant column/s.

Showing the use of
[OR]in a quick filter: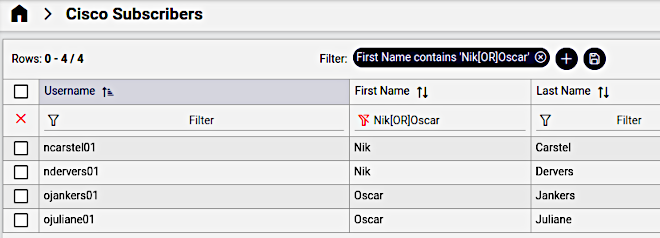
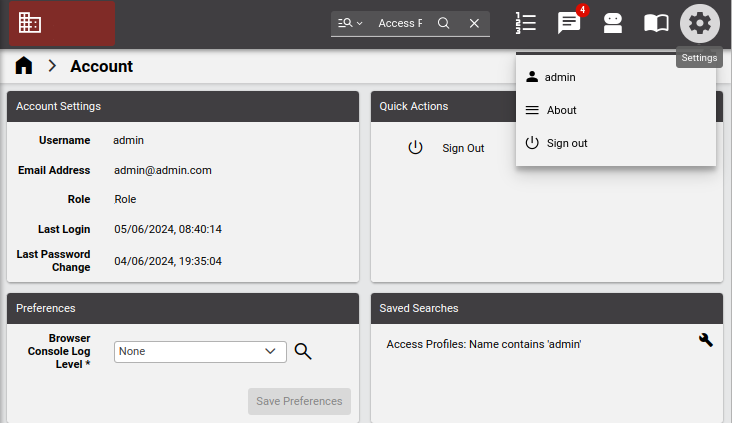
Advanced and quick filter saved searches display on the user Account (from your Settings icon), under Saved Searches.
