Build the Azure Collector using the Azure GUI
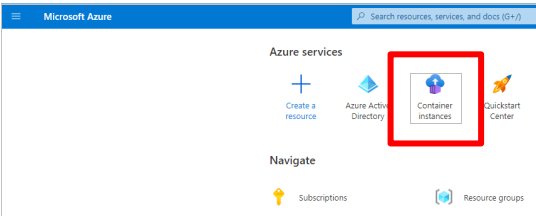
Log in to portal.azure.com.
Click on the icon Container Instances.
Note
First time users may have to enter payment details to cover the Azure running costs.
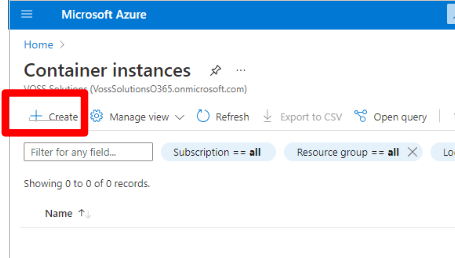
Click the Create button.
Fill out the following details:
Resource group: customer specific
Container name: example msteams collector
Region: needs to match global reader user
Image source: docker hub or other registry
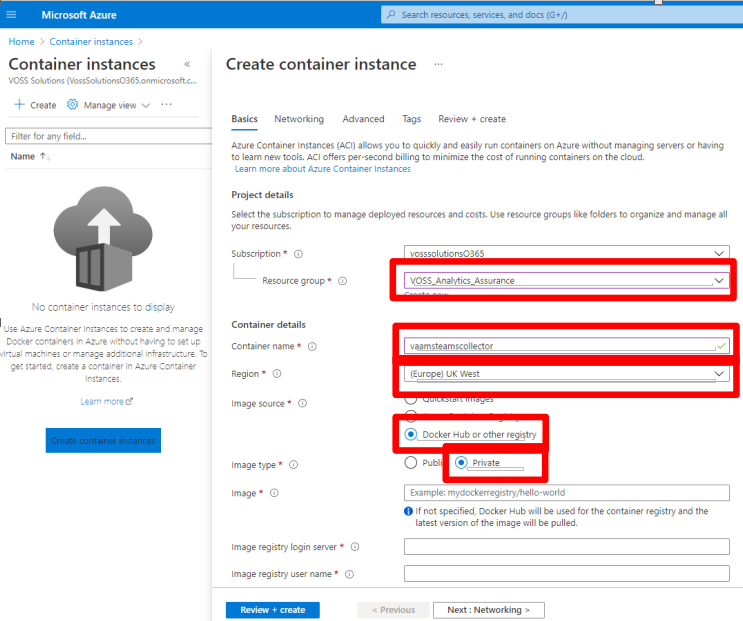
The following information comes from the first email that is sent
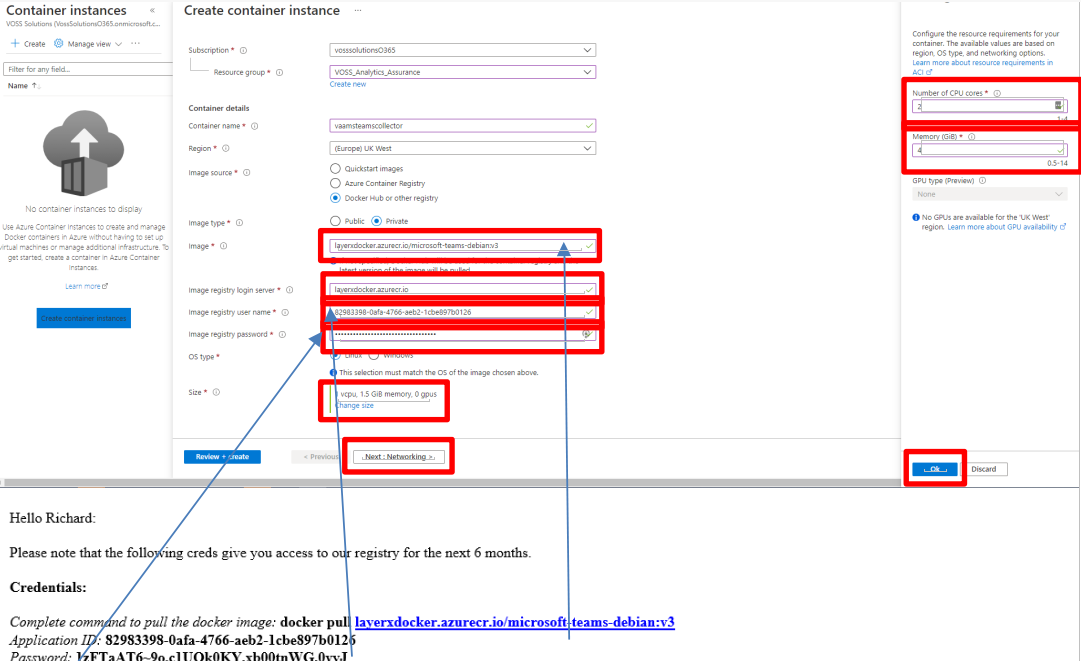
Image: layerxdocker.azurecr.io/microsoft-teams-debian:v3
Image registry login server: layerxdocker.azurecr.io
Image registry user name: application ID from email
Image registry password: password from email
Change size of container:
Number of CPU cores: 2
Memory (GiB): 4
Click OK to change the container size
Click Review + create to build standard
Click Next : Networking
Note
It is the customer’s responsibility to define their network, business policies and implementation. The following section acts as knowledge sharing.
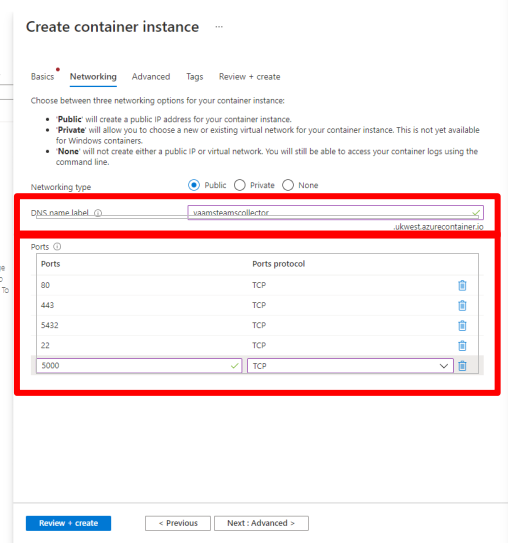
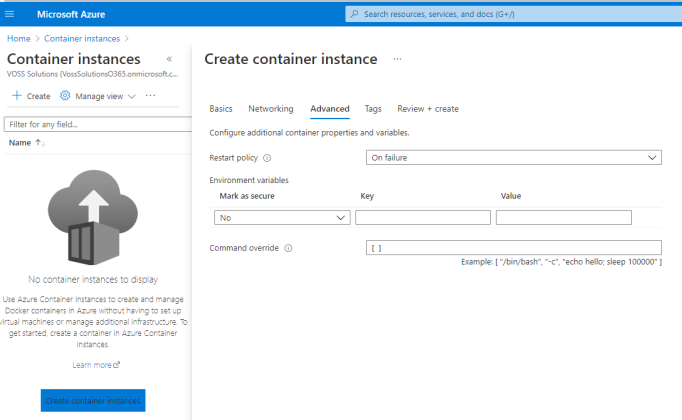
Advanced: Customer specific requirement
Tags: Add a tag if you require
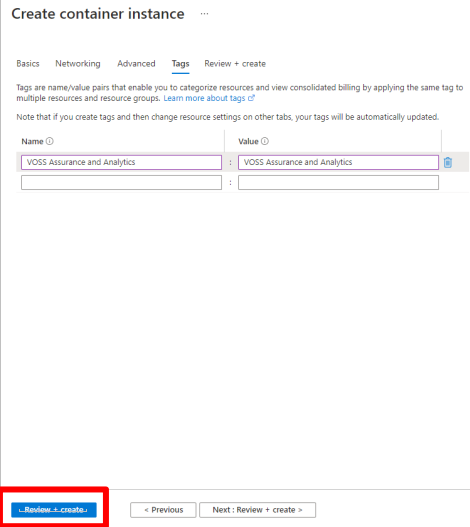
Review + create
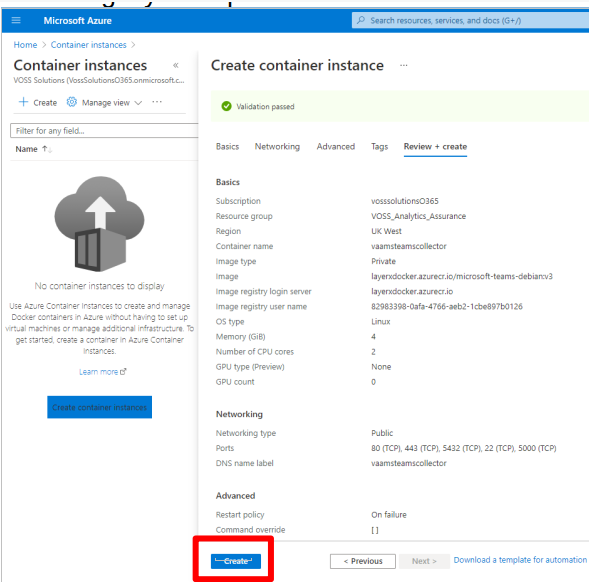
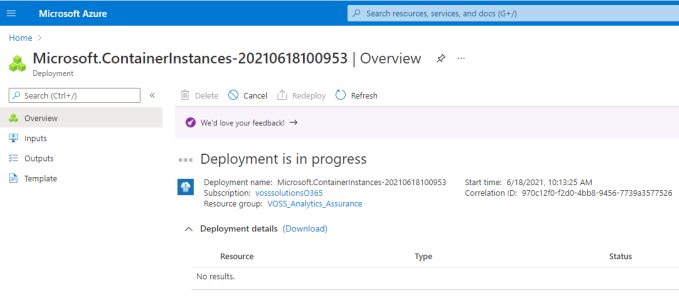
Click Create. Make sure the container deploys and causes no errors. It should take 2-3 minutes to deploy.
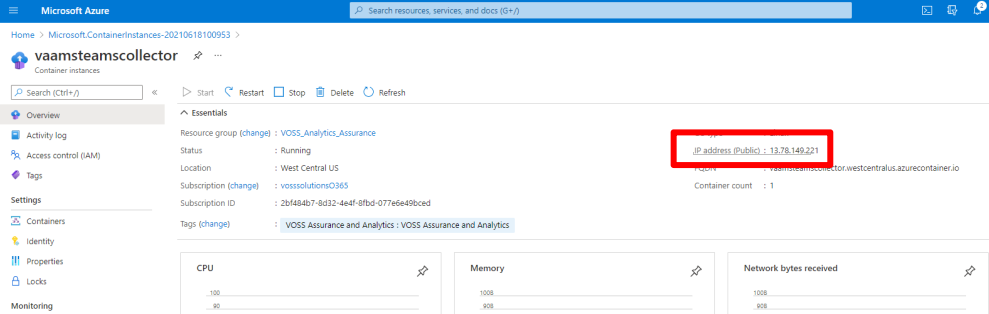
Take a note of the public IP (private if you done this as part of the customer security network setup).
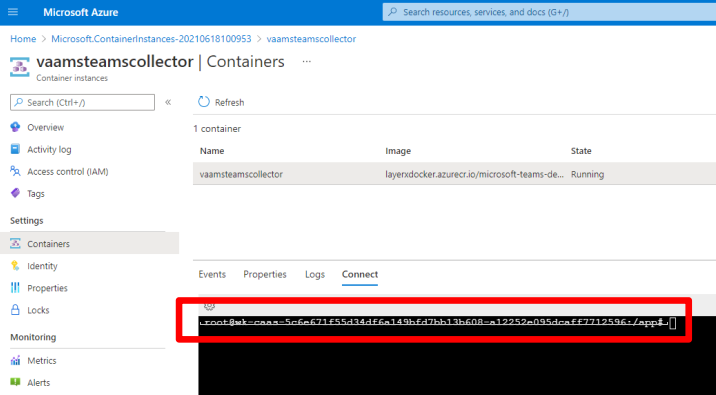
In the container instance that has been created, click Containers > Connect tab > Connect button.
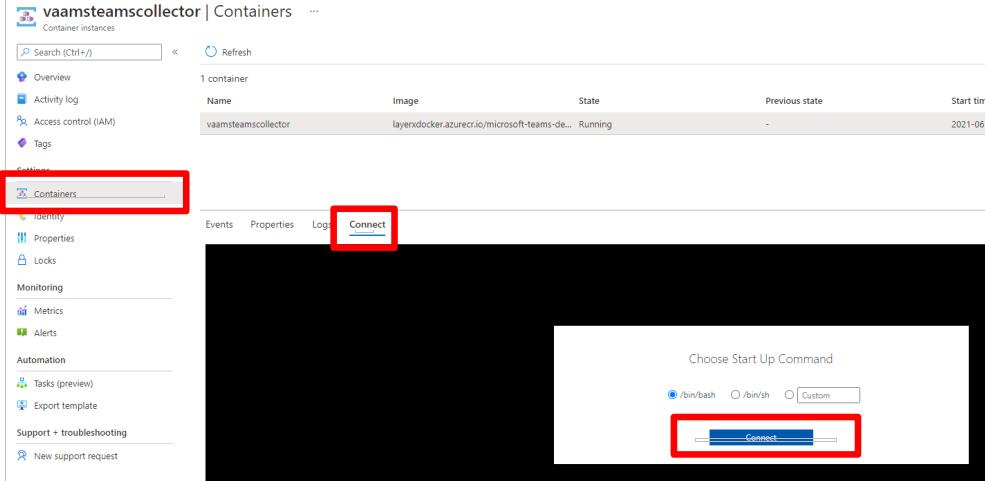
This displays the sandbox name which needs to be copied. This name is what the licensing server uses to associate the customer container with the user so they can log in to the GUI.