Mapping to a Template
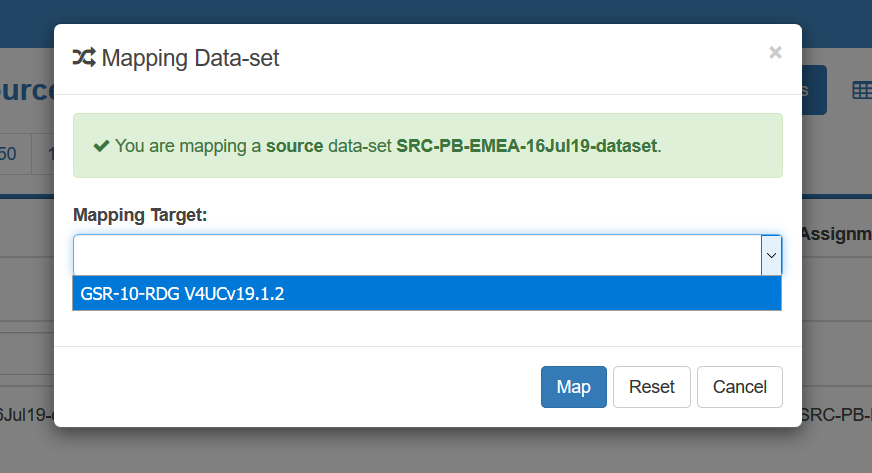
Click the Map button next to the Data-set.

Select the Target to map the data to from the drop-down list.

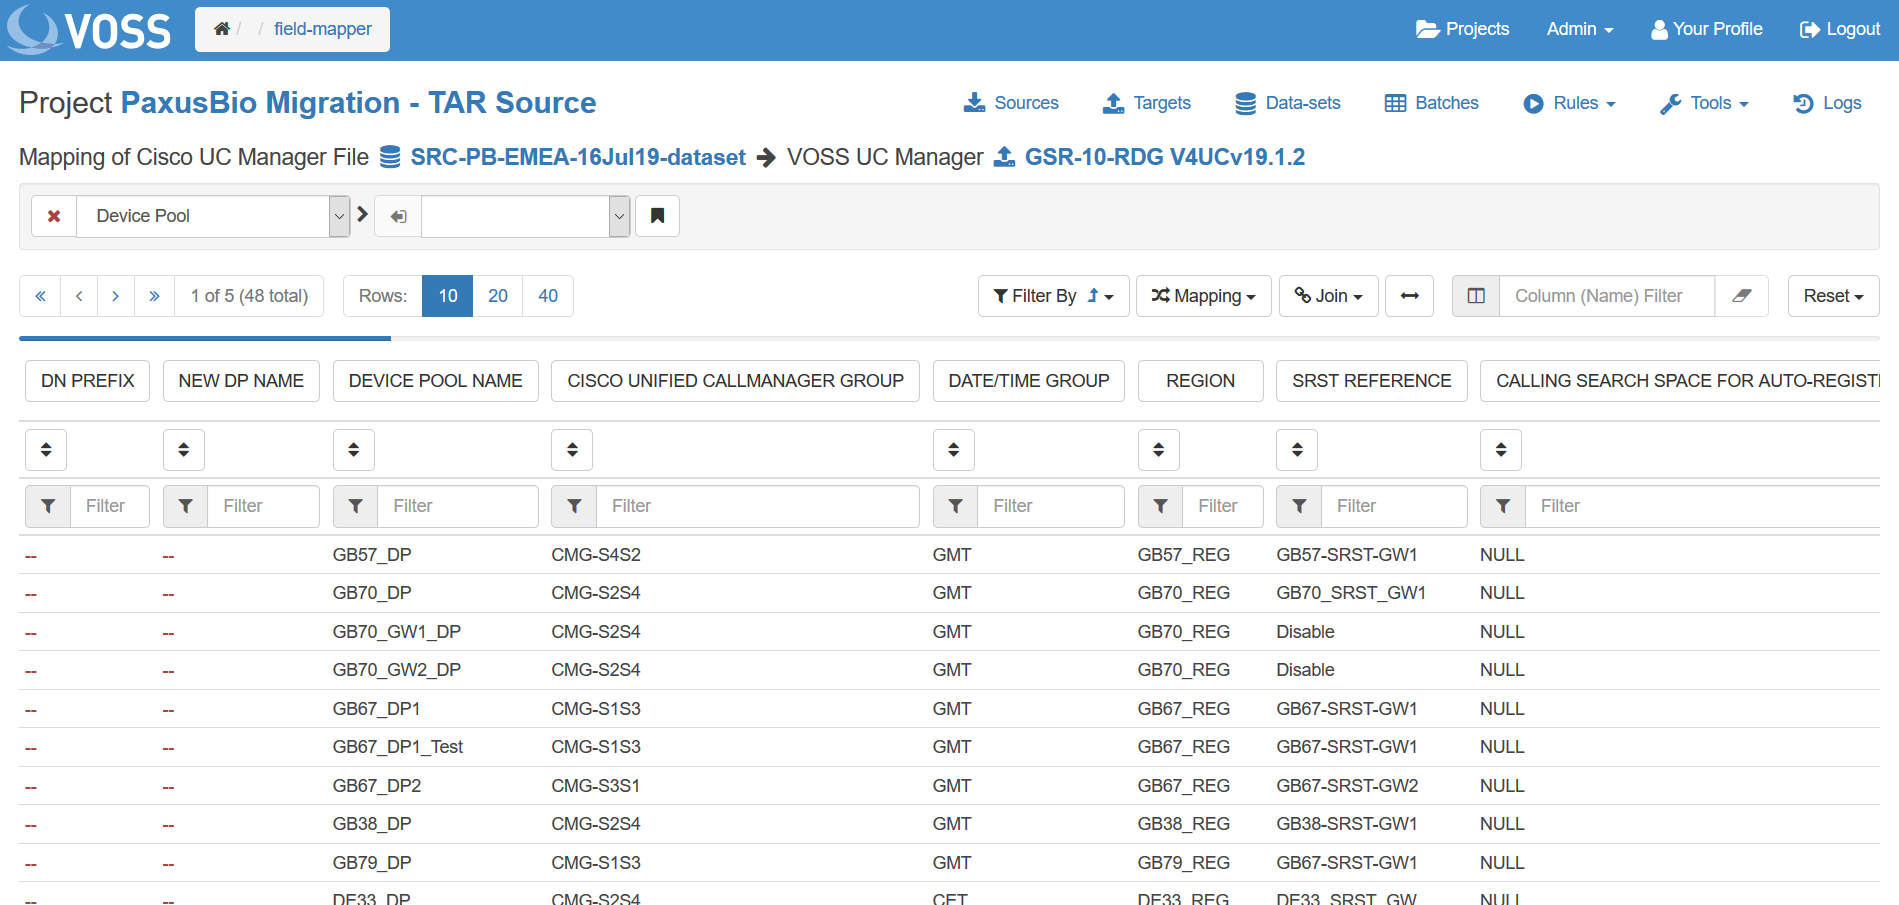
Click Map. The Select View drop-down menu shows a complete list of all sections that were discovered in the Source import.
Tip
The next screen that appears is blank until a view is selected from top left drop-down menu.


In order to run the mapping function one of the sections from the Select View list must be selected.
Click the Mapping button and select Template Manager.

Select a template from the drop-down list and click Apply. This may take a short time to complete.
Note
Do not click Overwrite as this will clear the template that is being loaded.

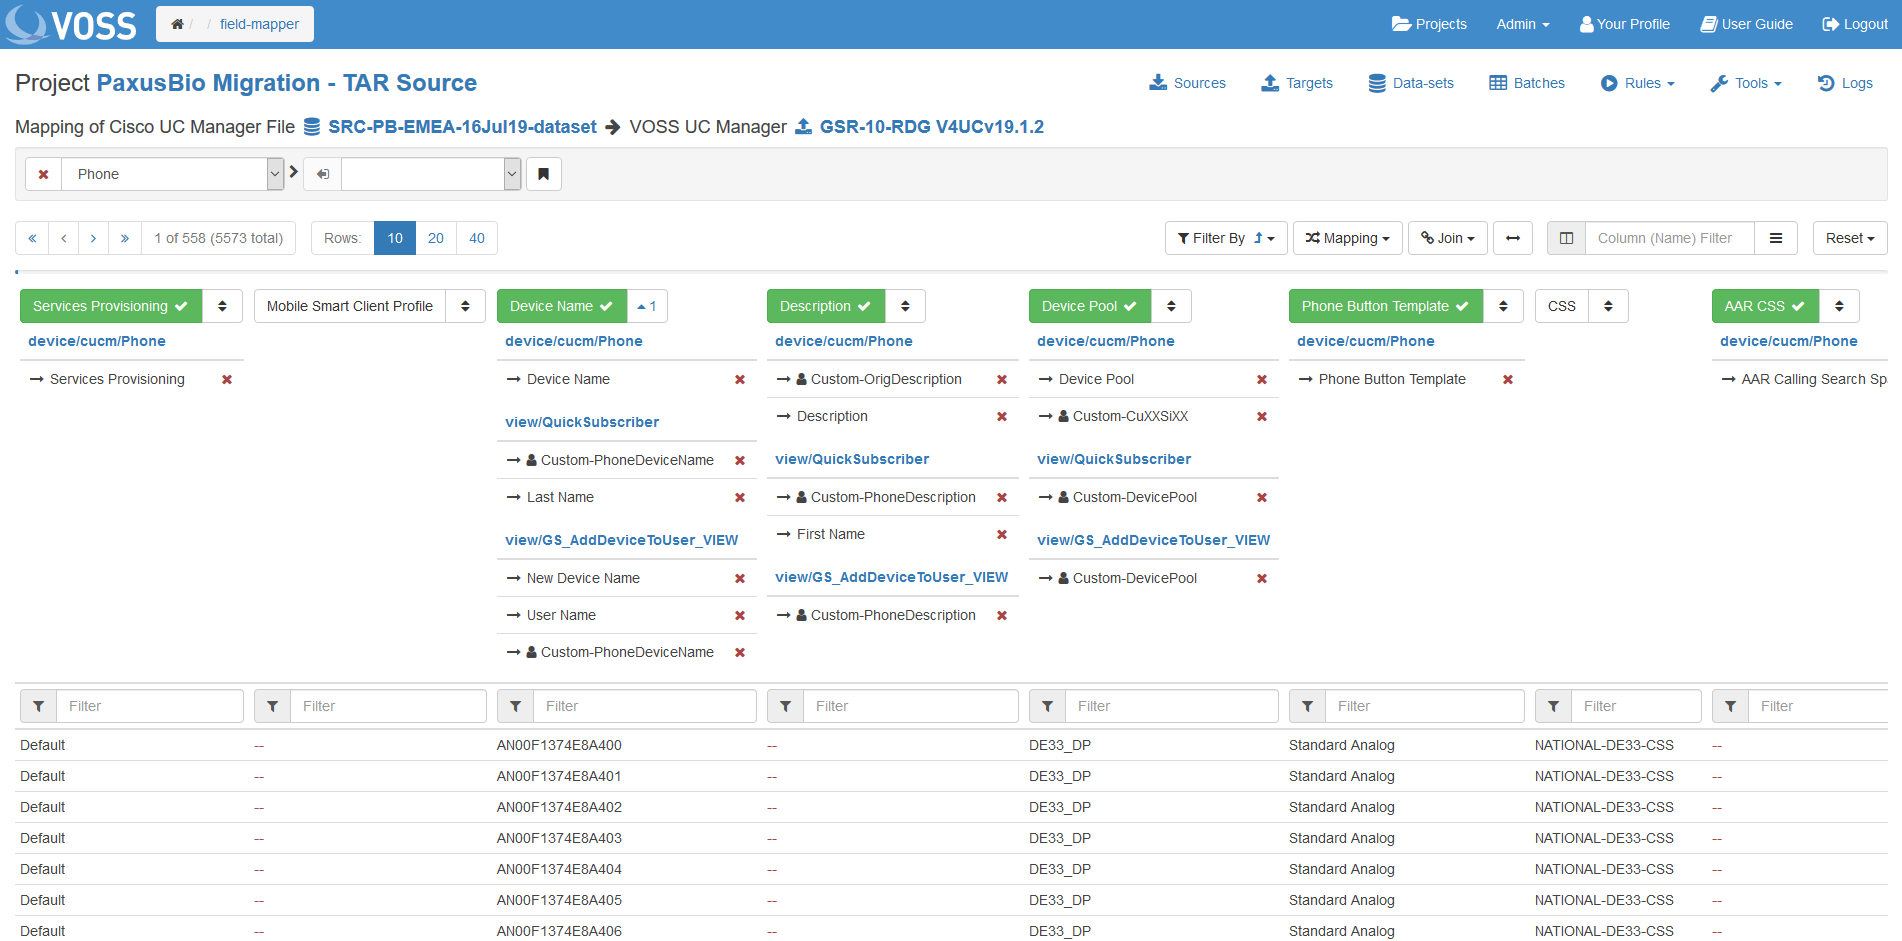
Once the template has applied the mapped fields will become green and the target fields that have been mapped to are displayed. It is now possible check that all the roles in the data set have been mapped as required.

Note
The template will be applied to all relevant Roles that are present, not just the current Role.
Uploading Templates
Click the Mapping button and select Template Manager.

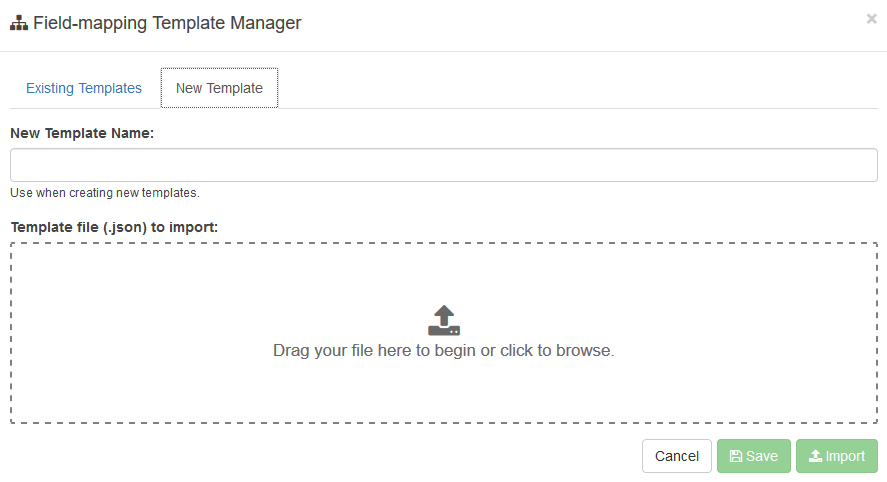
Click New Template.
Click the dotted outline box to browse for a rule file or drag and drop a valid Template file (JSON format) onto the dotted area as indicated.

Note
You will not be able to enter a name for the Template - this will be taken from the contents of the uploaded file.
Click Upload.
Creating a New Template
Click the Mapping button and select Template Manager.

Click New Template.
Enter a name for the Template and click Save.

It is now possible to save mappings to this new Template.
