Create Exchange Online Custom Role Group
To assign the least privileges necessary for VOSS-4-UC to manage your Exchange Online mailboxes you will need to create a custom role group in Exchange Online. These steps will walk you through that process.
Browse to https://portal.office.com, and sign in with administrative credentials.
Navigate to the Office 365 Admin Center.
Navigate to the Exchange Admin Center and choose permissions from the navigation pane.
Choose the admin roles option at the top of the screen.
Exchange Online Admin Roles page
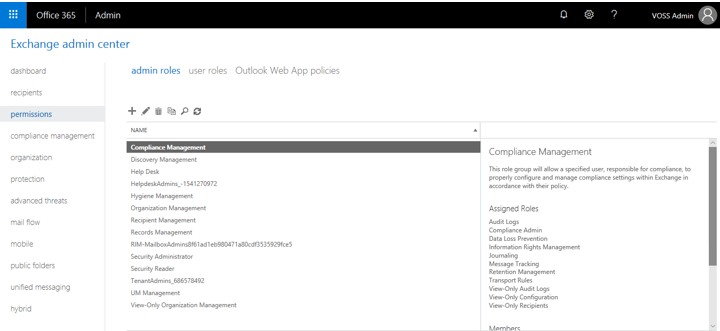
Click the + icon to add a new role group.
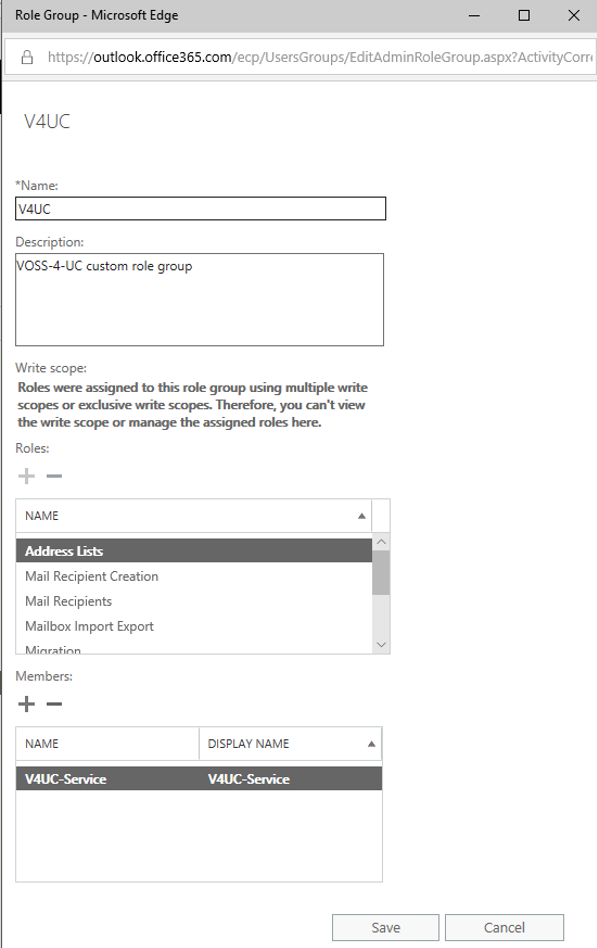
Enter a group Name and an optional Description. Leave the Write scope as Default.
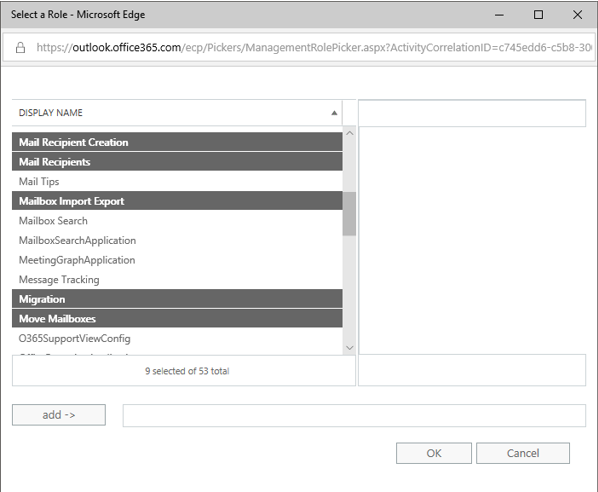
Click the + icon under Roles to add the following roles. Ctrl + left mouse click to select multiple roles. Click OK when complete:
- Address Lists
- Mail Recipient Creation
- Mail Recipients
- Mailbox Import Export
- Migration
- Move Mailboxes
- Reset Password
- SendMailApplication
- UM Mailboxes
Exchange Online Role Group - Role Selection
Click the + icon on the new role group sheet, under Members: to add the service account to this group.
Choose the service account from the list of user accounts, click Add ->, and then click OK.
Exchange Online Role Group - Add Members

Click Save on the new role group sheet.
Exchange Online Role Group